Bringing back some old stuff from the deep web after talking with designer/screen printer extraordinaire Jon Johnson last week. This post was pre-kwartzlab, back when we were nomadic makers, building the community, under the temporary MakeKW banner. So cool to see the same spirit in action today, six years later, at kwartzlab and in the broader community. Proud? Yer damned right I am. -DW
26May2009
It kinda sorta actually worked. Read on for deets…
Continuing on from Part 2…
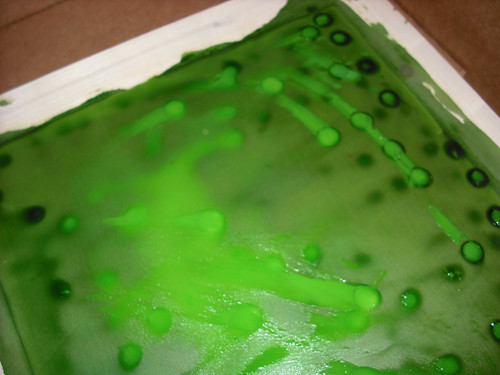
This… is not ideal. When I opened the box containing my supposed-to-be-dry-by-now prepped screens I realized I had slathered on way too much emulsion. Ideally you want a nice and even but complete coating. Fail? Opportunity for Further Thinking. Pressing on due to time constraints…

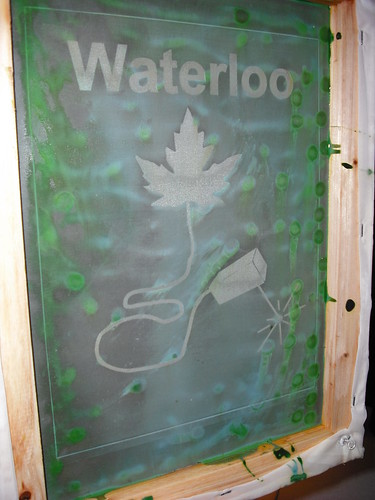
Here’s the transparency for the shirt front. Infected by wet green goo. The idea here is to make a sandwich stack of sorts in making (or burning as they say) your screen. Stack from top down:
some plate glass to hold the transparency down and flat
printed transparency
treated screen
You jam this whole stack under…
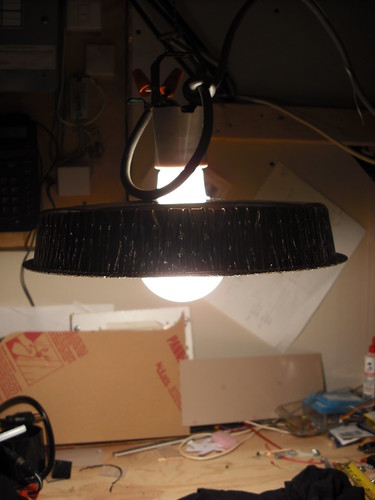
this ultra-bright lightbulb, featuring a fancy pie-plate reflector, for some guesstimated amount of time as advised in the directions. You can use regular lightbulbs but it takes a lot longer, or you can use sunlight, but it must be daytime. The $8 bulb at the camera store was a good investment. I exposed the screen for about 10 minutes under the light and…

and after rinsing got a pretty good result.
See, where the light was blocked by the printed out transparency, the mask emulsion washes right out of the screen, leaving a nice porous mesh that you can push fabric ink through. Where the mask had glooped up a bit, I used a soft brush to scrub it out of the screen.
So I burned the other two screens.
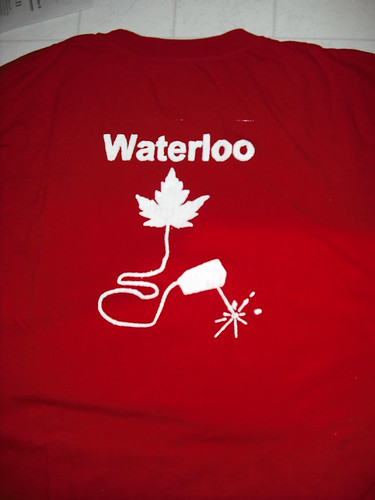
The screen for Dave (welding) turned out pretty well…
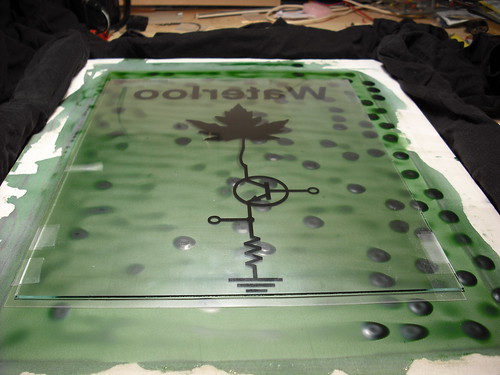
but this one for me with the emitter follower was tough on such an uneven surface.

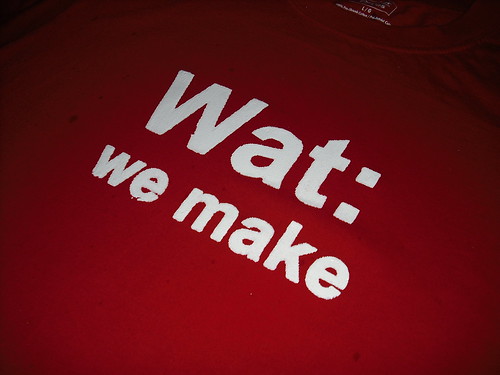
Had to print these in the bathroom, ’cause there’s a nice guy named Ric sleeping in the basement (which adjoins the Lab) and overall I’m pretty happy with the result for a first crack. To print, you flatten out your shirt over a hunk of cardboard, put the screen down on top, gob some fabric ink across the top end of the screen and then use the squeegee to pull the ink evenly across, pushing it down through the screen mask, printing your design. Technically, you’re supposed to heat-set the ink with a hot iron, but I finished these babies mere hours before we had to peel out for the Buffalo Airport to fly to San Francisco, so the ink wasn’t yet dry.
I also learned that the insert you put inside your shirt should not be absorbent (like regular corrugated cardboard), otherwise the ink may start bonding your shirt to the cardboard. For subsequent pulls, I wrapped the insert with plastic wrap.
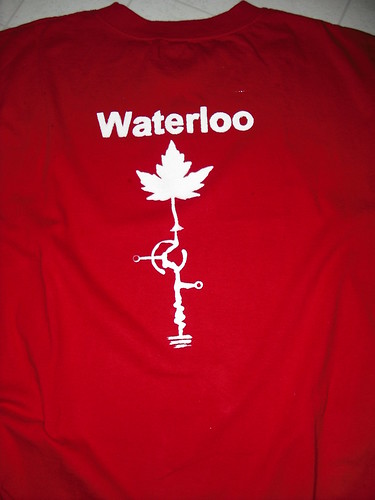
The learning continued as I lost finer details of my design, and recognized that you need to very deliberately sort of push the ink through the screen. All in all, it was really fun and the start of a great new toolset for me.
More pics here.
Make: a statement.
DW