I’m calling this The Year of Makerspaces because, happily, everywhere I turn I find a new one. Back in 2009 when we were founding kwartzlab, the first makerspace in Waterloo Region, we had to go to some lengths just to explain what is a “makerspace”. There are as many definitions of the word as there are reasons for building such a facility. If you’re new here, I’ll oversimplify by saying: noun | \ˈmā-kər-spās\ | a group of hands-on people equipped with a tool-filled room and a great desire to make all kinds of stuff.
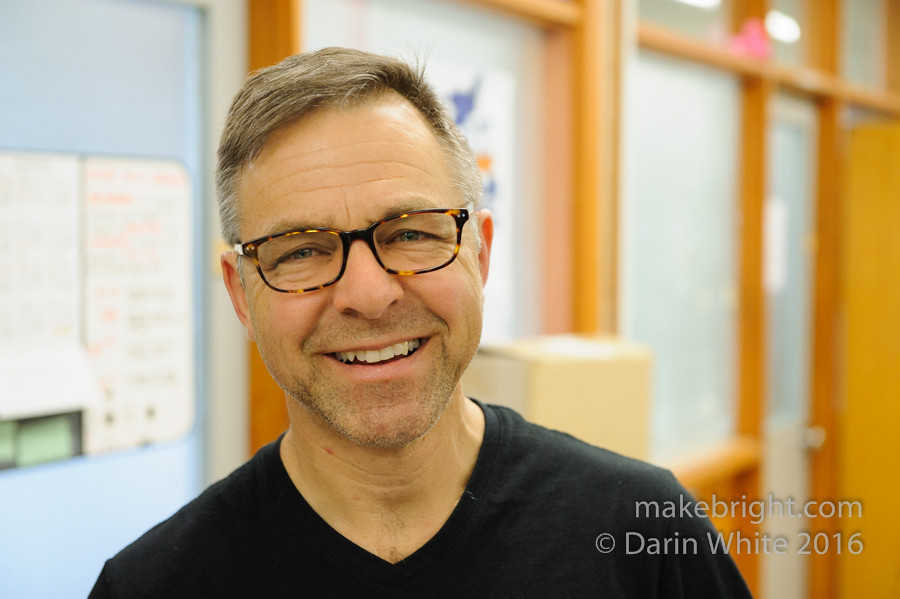
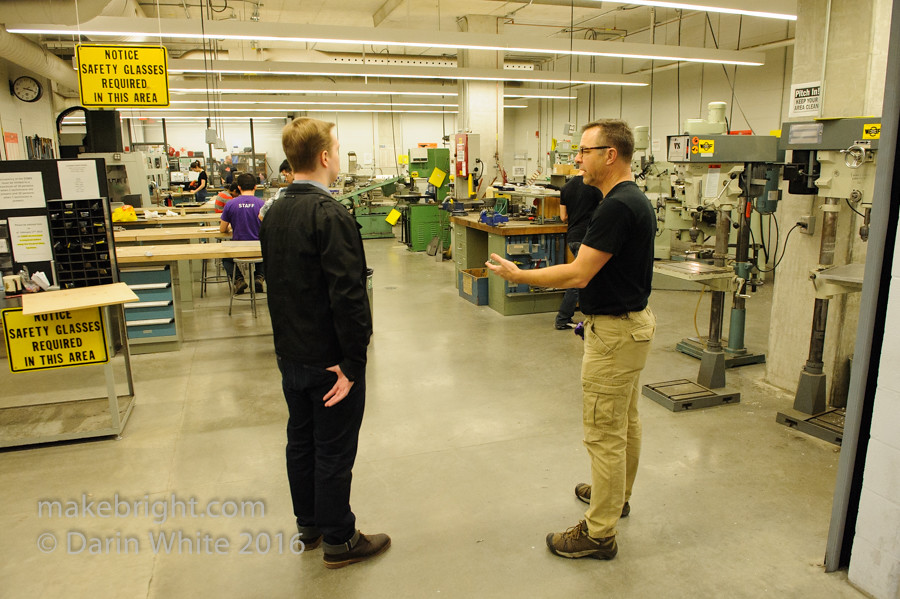
Checking out an event at the Critical Media Lab a few weeks back, I got into a great discussion on accessibility to makerspaces and that led to meeting Dr. Andy Trivett (above) who was also in the house. Andy is the Director of Clinic-Centered Learning in the Mechanical and Mechatronics Engineering group at the University of Waterloo. He runs the WATiMake space on UW main campus in the Douglas Wright Engineering building and he invited me in for a tour. He’s a helluva nice guy and when I tell you he’s a maker, an avid cyclist, and a native of PEI, well that all snaps together.

I’ve got more for you here, but first, gotta give a shout out to my latest Patreon supporters: Ursala Zeis, goddess of small engine repair at Meetz, and Duncan Finnigan co-creator of the ever-lovin’ Kitchener Sync homegrown TV series. If you dig my community-building work in telling these stories, please support it with your pocket change. Ok, now more story.
What follows here is an utterly unreasonable number of photos. I must have been a good guest for the WATiMake tour because Andy invited me back the following week to see 120 first year (1B) Mech students do some low-fi prototyping in his ME101 class. Got photos of both here. It all makes me happy to see people learning with their hands and the evolution of different approaches to learning.
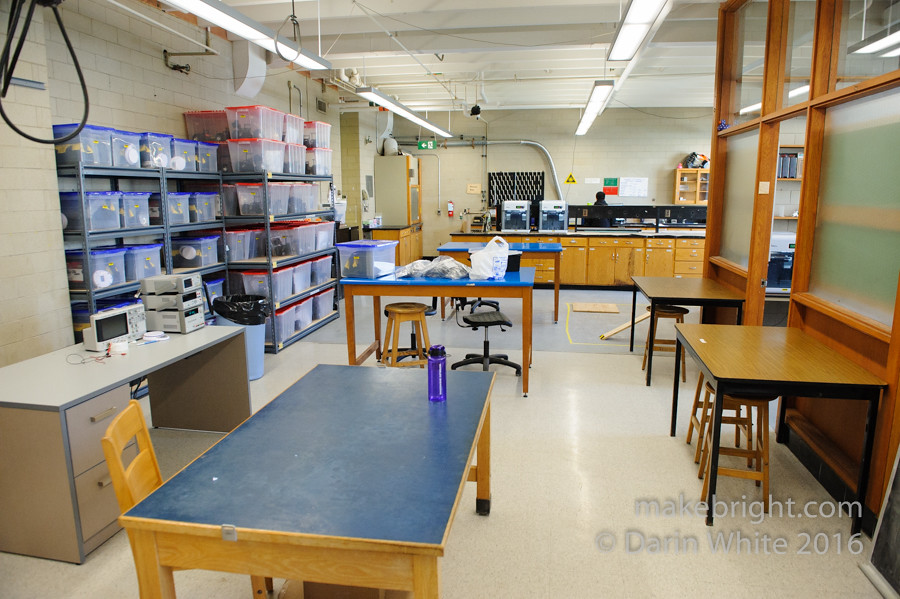
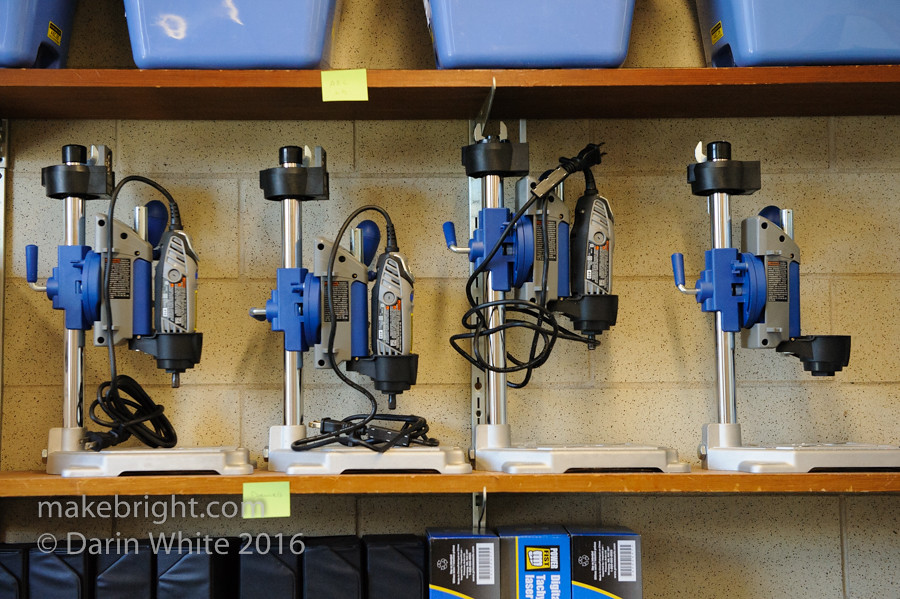
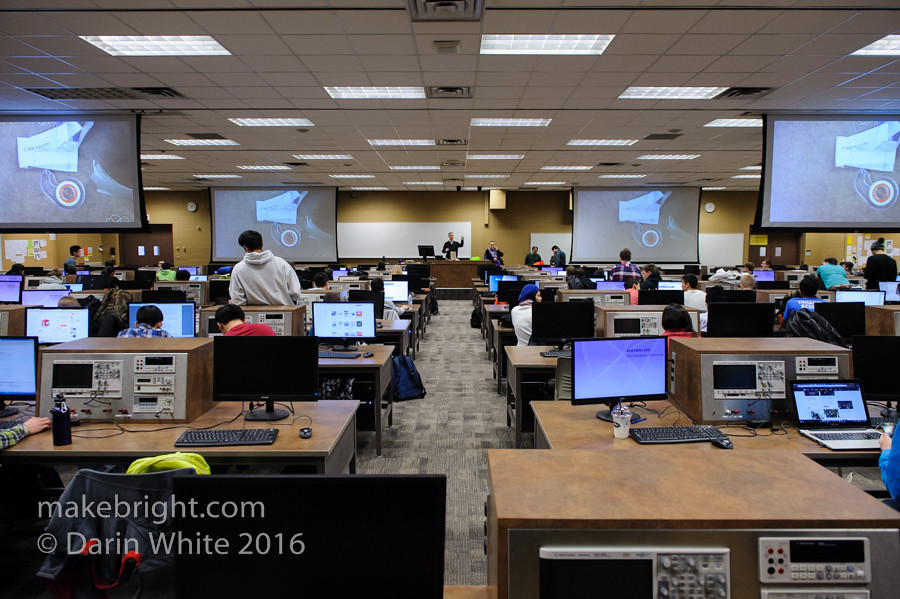
Here’s half the WATiMake space. More accurately I should say it’s one quarter of the space since the rooms directly overhead on the third floor are being renovated to expand this awesome makerspace. WATiMake supports 1500 (yow!) students, which can mean a very packed shop and a very busy laser cutter from time to time.
All this greatness has been about five years in the making. Why it exists fascinates me. Somewhere in the past 30 years students started arriving in engineering programs with little or no hands-on experience and understanding of how things worked. Things like coffee makers and cars and all the made things of the world. Eng courses taught the theory and the idea was that co-op would provide the practice. That didn’t exactly pan out, so the approach evolved to incorporate this break-out-the-tools clinic-centered learning. Andy described a simple exercise as “Disassemble this coffee maker and describe how it works.” (Surprise: no pump!) Students need to learn to solder and 3D print and laser cut and fabricate and test and fail and redesign.
I was about 23 years old before I (we) had the internet so I had to entertain myself by disassembling hair dryers and bicycles and old radios and lawnmowers. And then making new things out of that junk. I can’t lay all the blame on the siren song of the net. Certainly the world’s increasing slant toward eliminating every single experience and object that could conceivably hurt young people has also stripped away a lot of learning opportunities. And in the post 9/11 era of fear-everything, there’s a lot more scrutiny of model rocketry and catapults and clock-building as possibly subversive. I guess we also closed all the elementary school tech shops through the ‘90’s because of perceived liability or lack of staffing budget. But however we got to now, things are turning around: we are all makers.

Andy joined UW from the University of Prince Edward Island a couple years back.

I brought my pal and mega-making kwartzlab president James Bastow (left) with me.
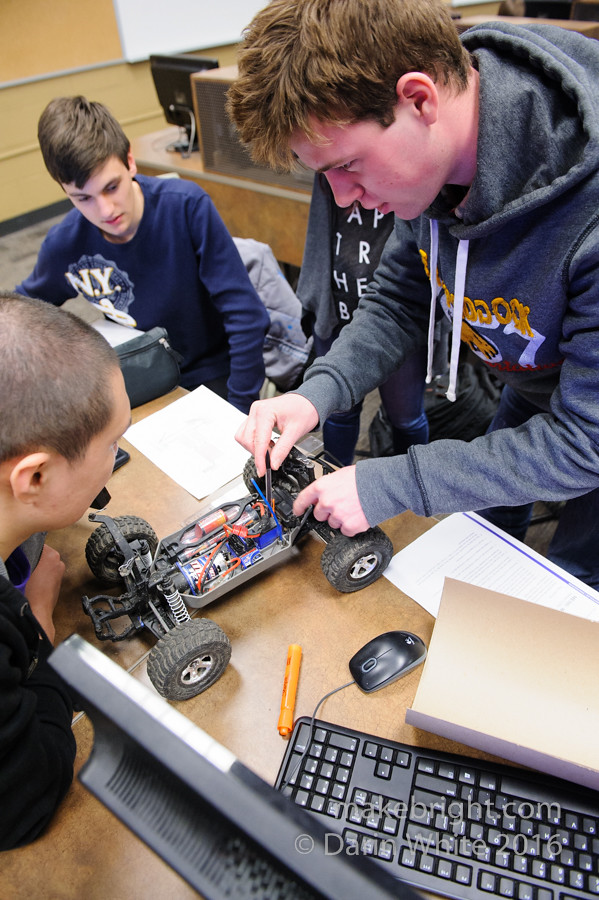
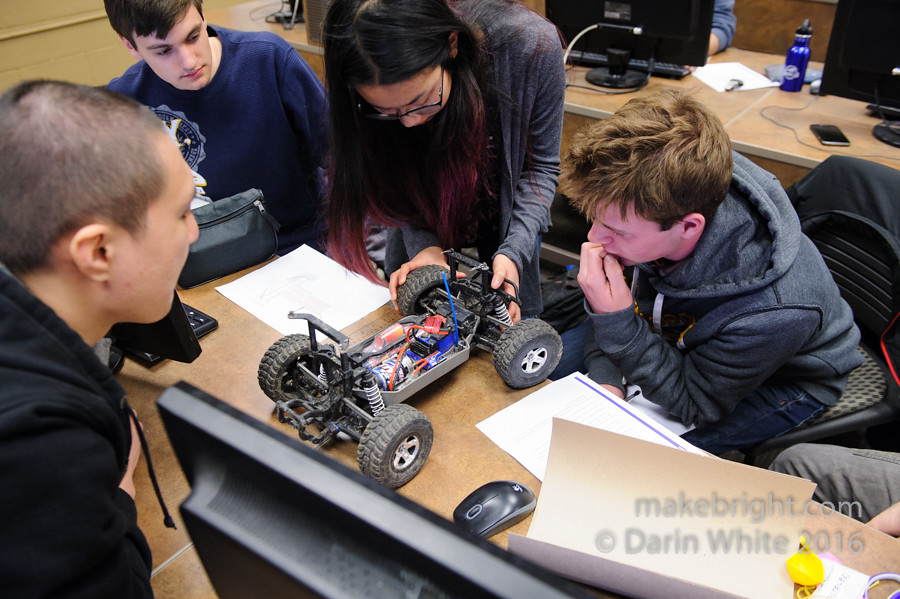
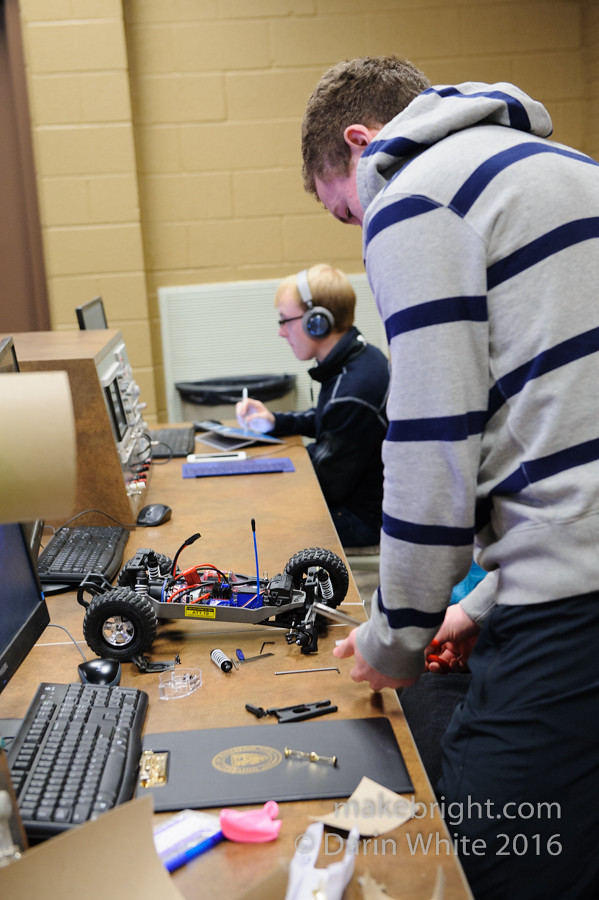
Andy described one of three possible term projects for first year students: the car.

First you pull off the parts that just get in the way, like these shells.
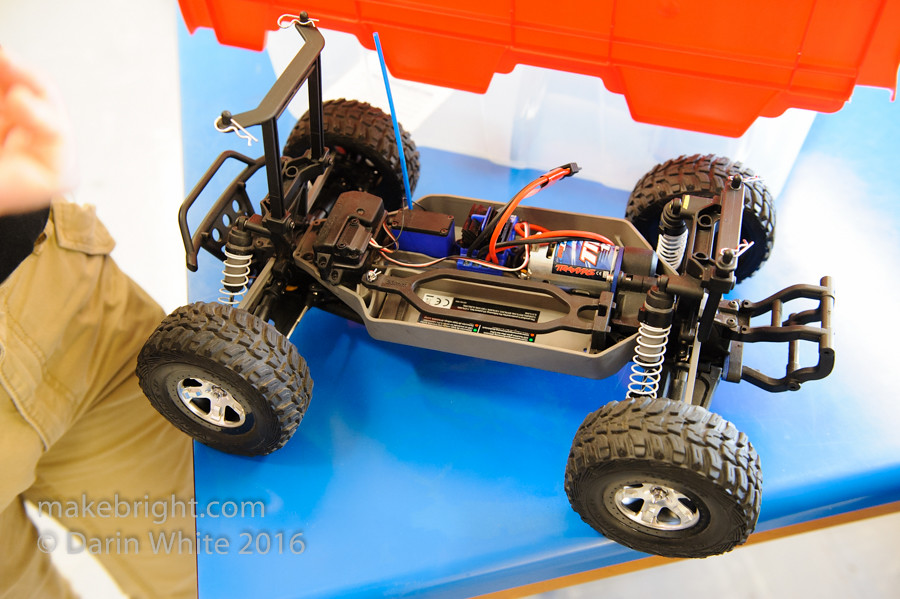
Then you figure out what all the parts do, build a (phone?) bracket for the chassis and then drive it around (taking a video?) Lots of good stuff here like remote control radio gear, rechargeable batteries, suspension, gear train.

A later challenge is to build anti-lock brakes on this platform.
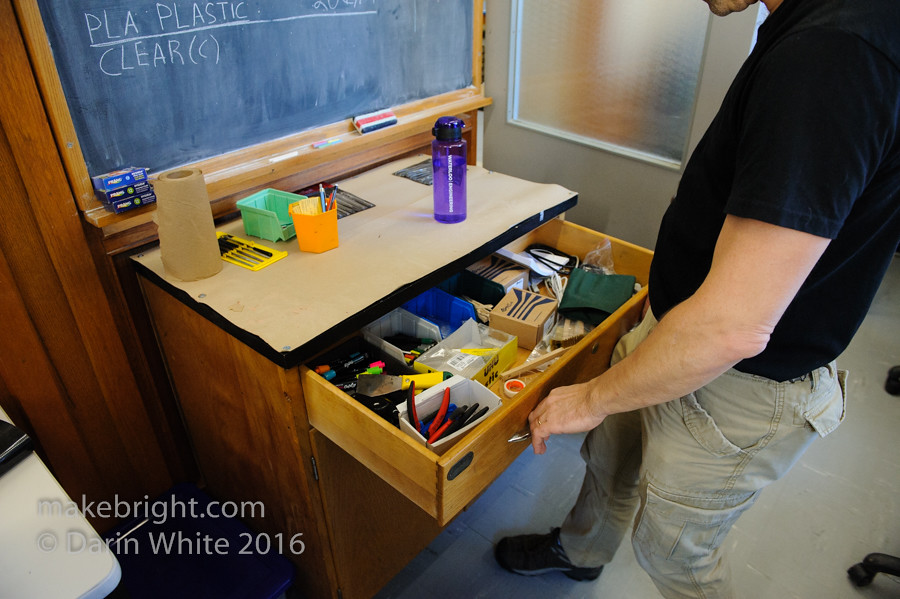
Groups of three students each get a car and their own project box. Just like every makerspace: storage is a challenge.
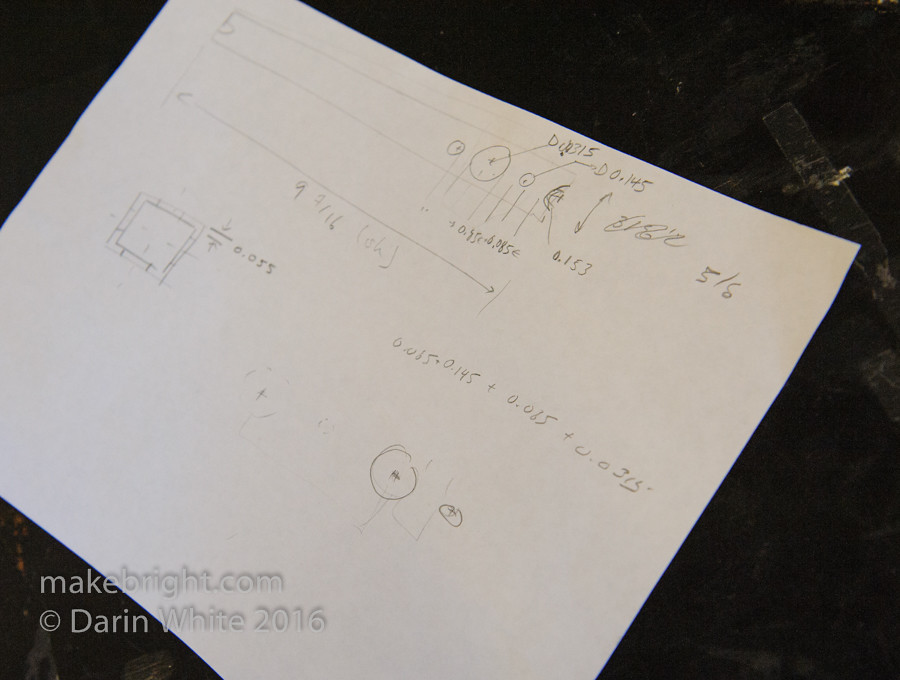
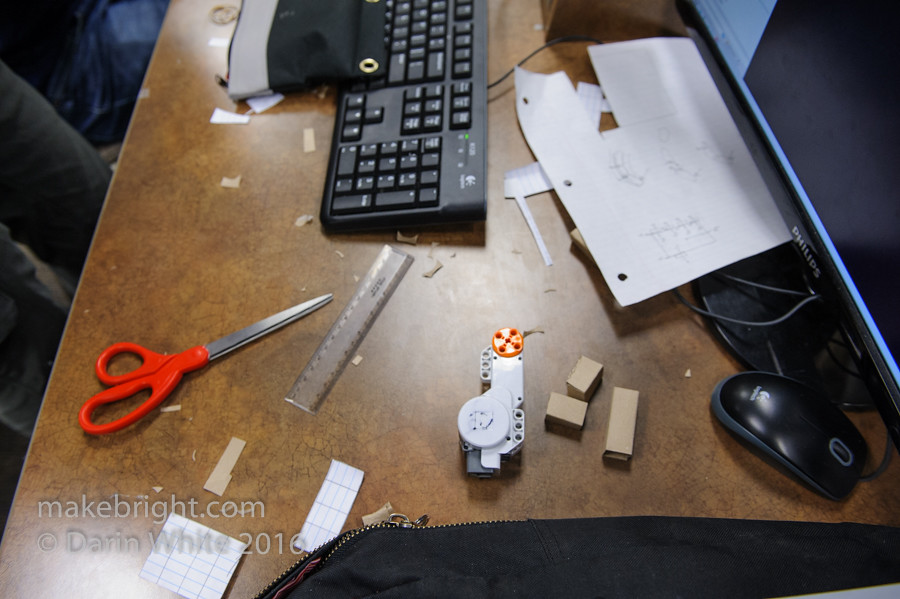
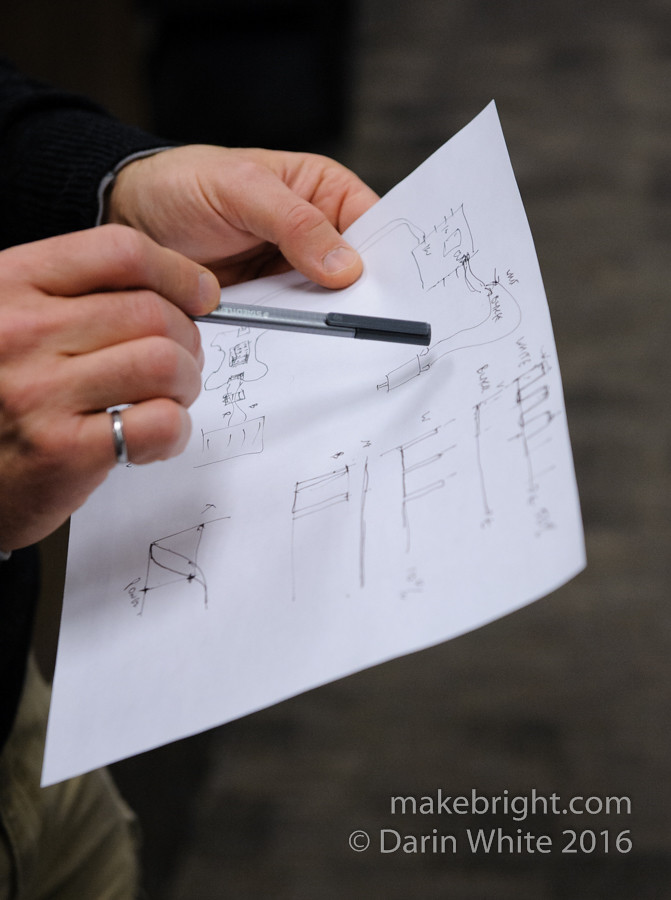
I love hand-drawn plans.
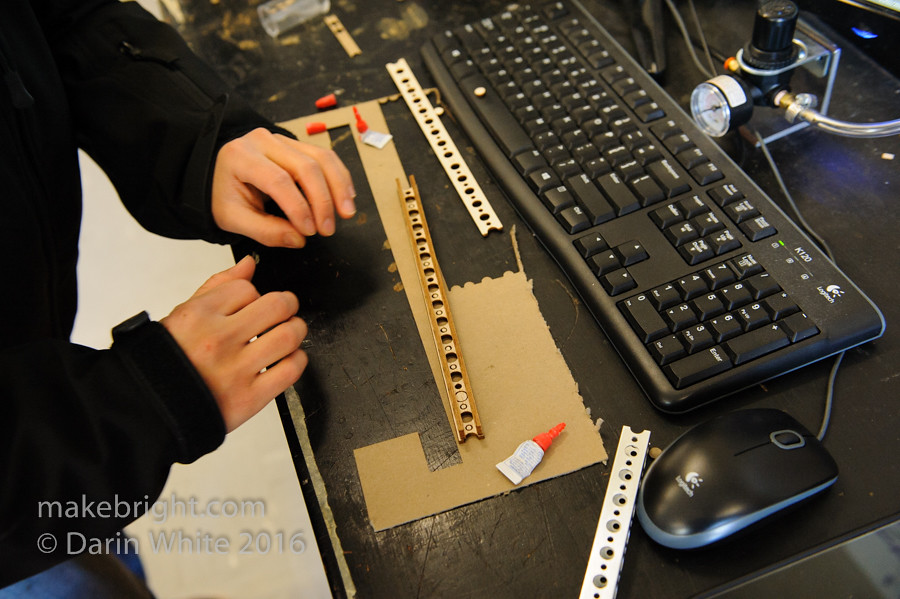
I caught up with lab tech Adrian Au over by the laser cutter. Every makerspace has an authoritative expert (or two) for each large tool. Seems like natural selection or something.
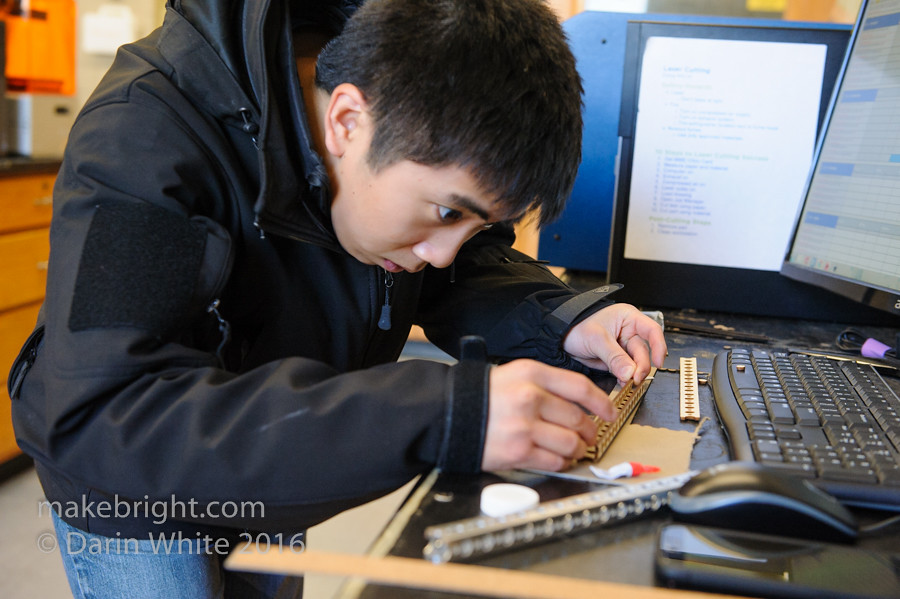
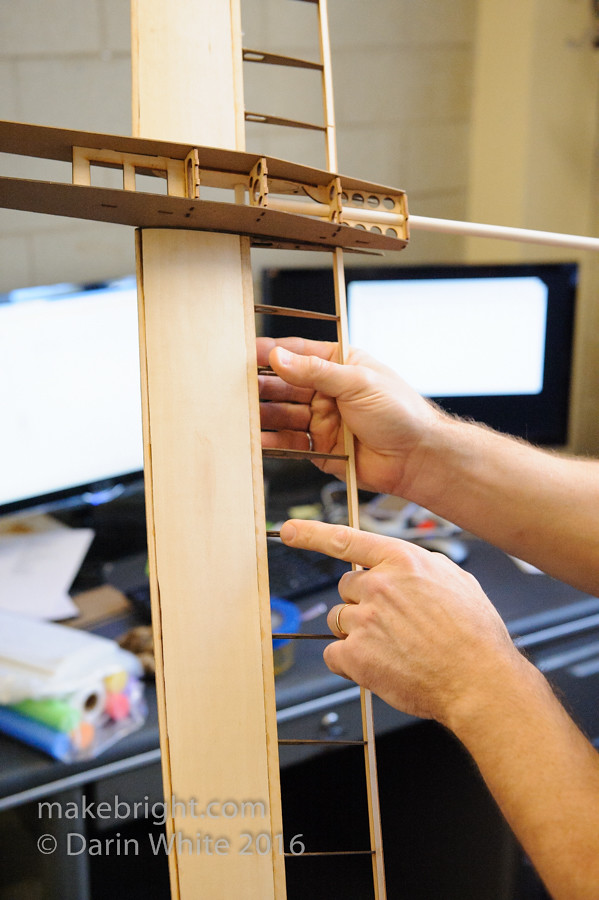
Adrian was using balsa wood and CA to replicate an aluminum structural beam to assess its properties for another possible term project: a propeller-driven helium-lifted blimp.
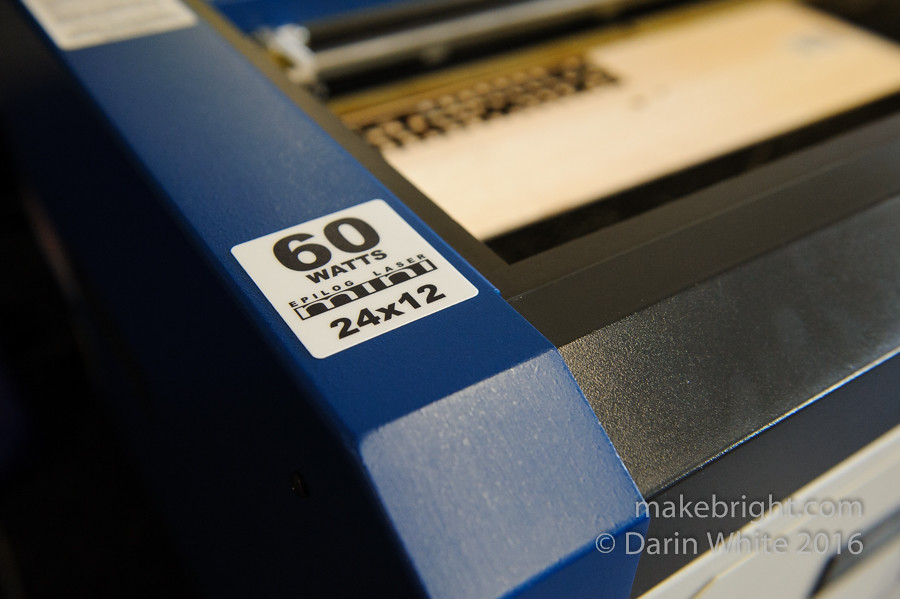
This 60 watt Epilog laser cutter gets a ton of use in the space.

Everybody thinks the 3D printer is the must-have tool, but real makers know it’s all about the laser cutter: faster, lower consumable cost, and did I mention fast? Andy said that students will soon be able to purchase material stock on their WatCard.


Given how much medium density fiberboard kwartzlab puts through their laser, I was surprised to not see it here. It’s pretty environmentally stable as a build material and the nominal dimensions are usually pretty consistent. And it’s cheap as dirt from Home Depot.
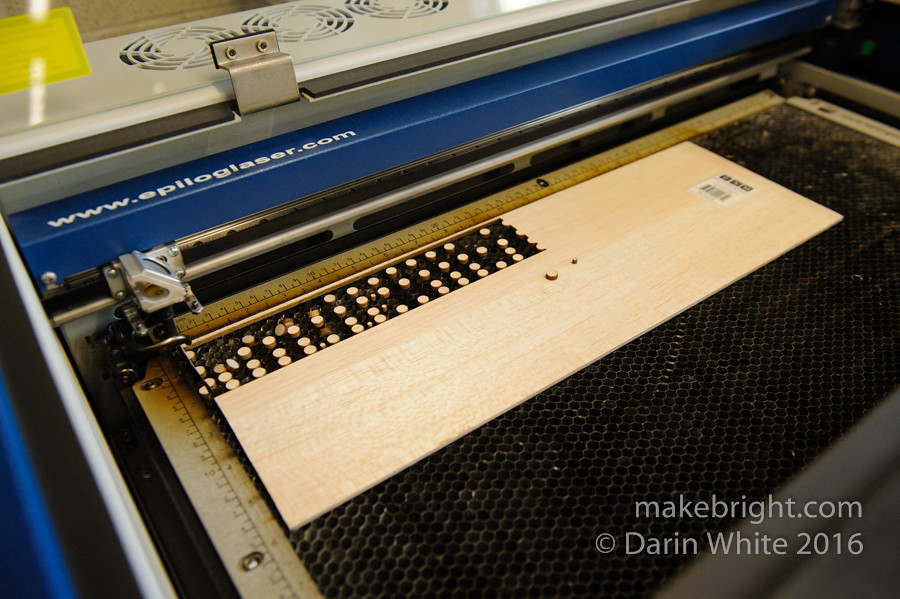
Here’s the honeycomb bed of the laser cutter with all the knockouts from Adrian’s beam design.
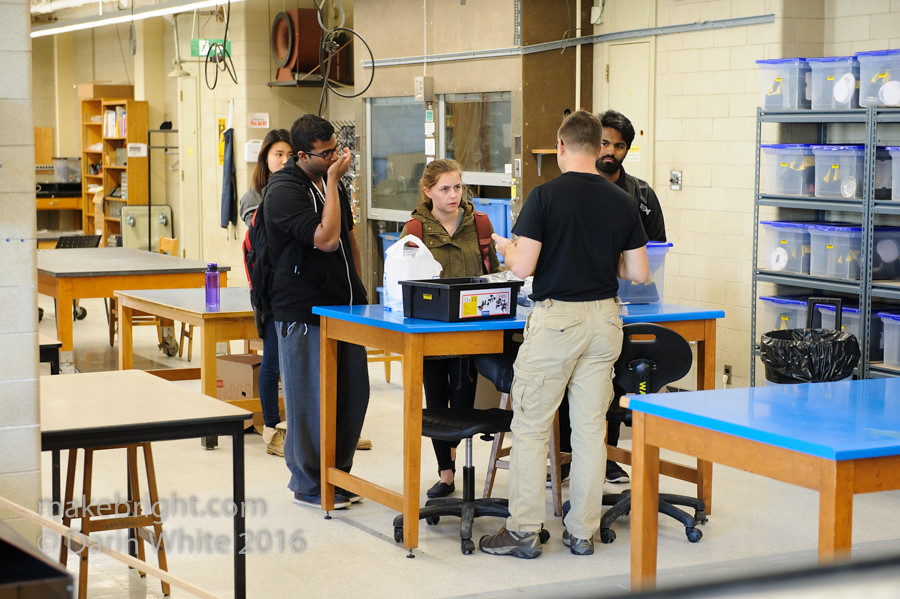
A student group arrived for an impromptu consult on the blimp project.
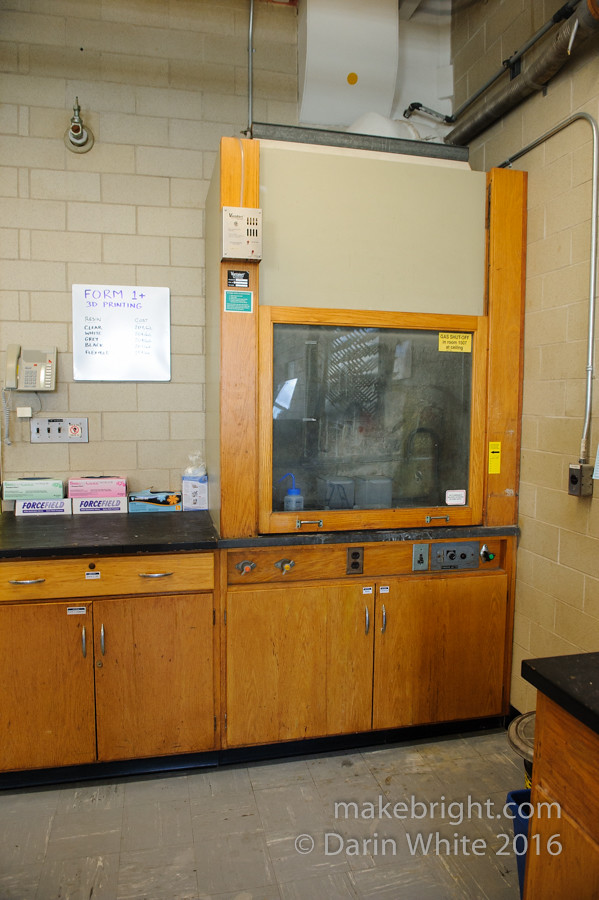
Fume hood from days of olde. Still useful I reckon. Well, *I* would use it.
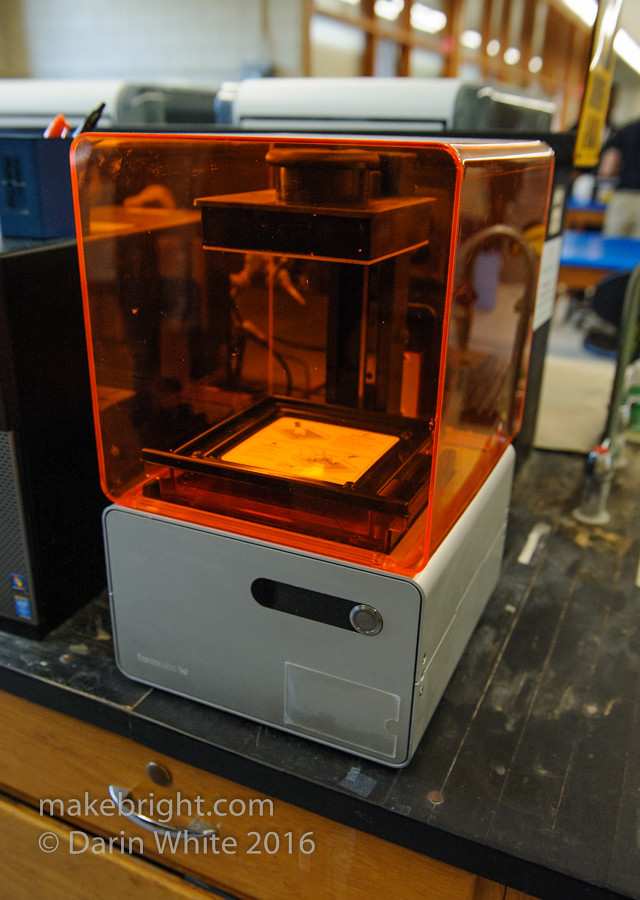
Ah, a Formlabs Form 1+ printer. This is the fancy printer. Stereolithography (SLA) printing by selectively curing light-sensitive resin with a laser. Consumables are more expensive, but the output is like butter.
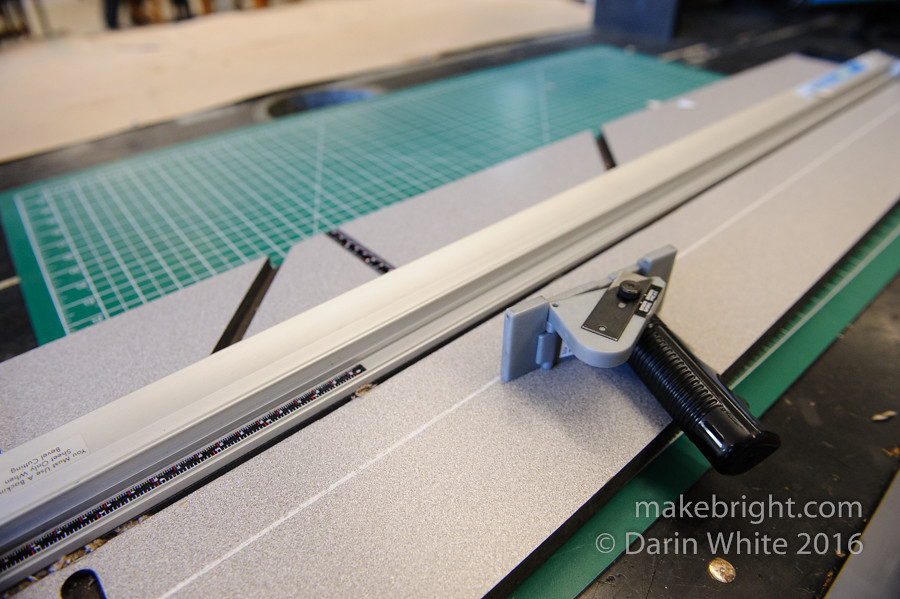
Mat cutter.
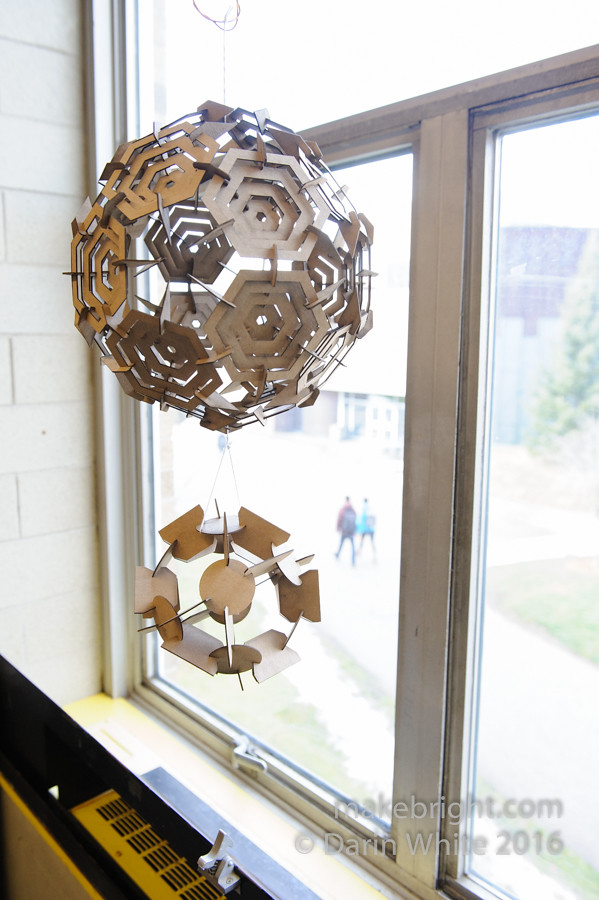
Some more output from the laser.
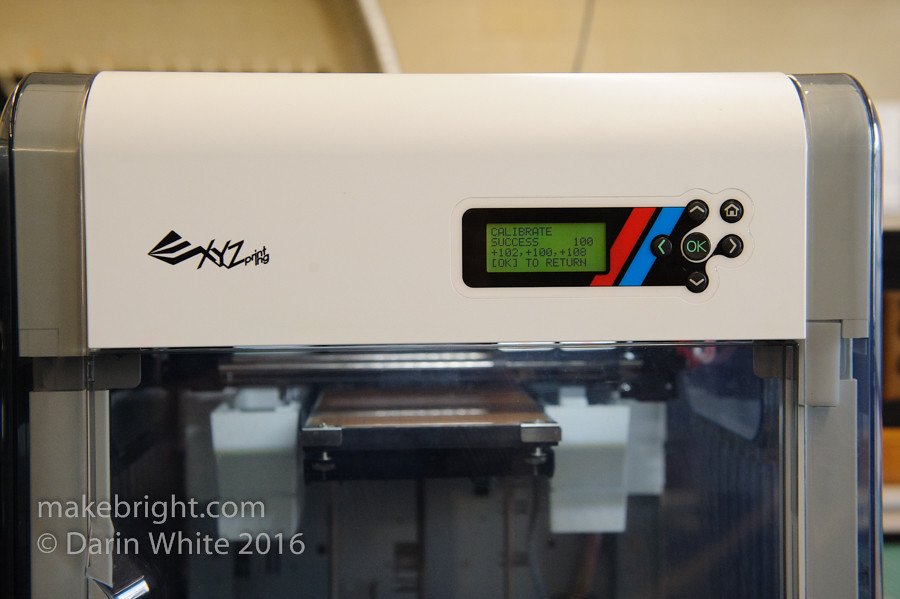
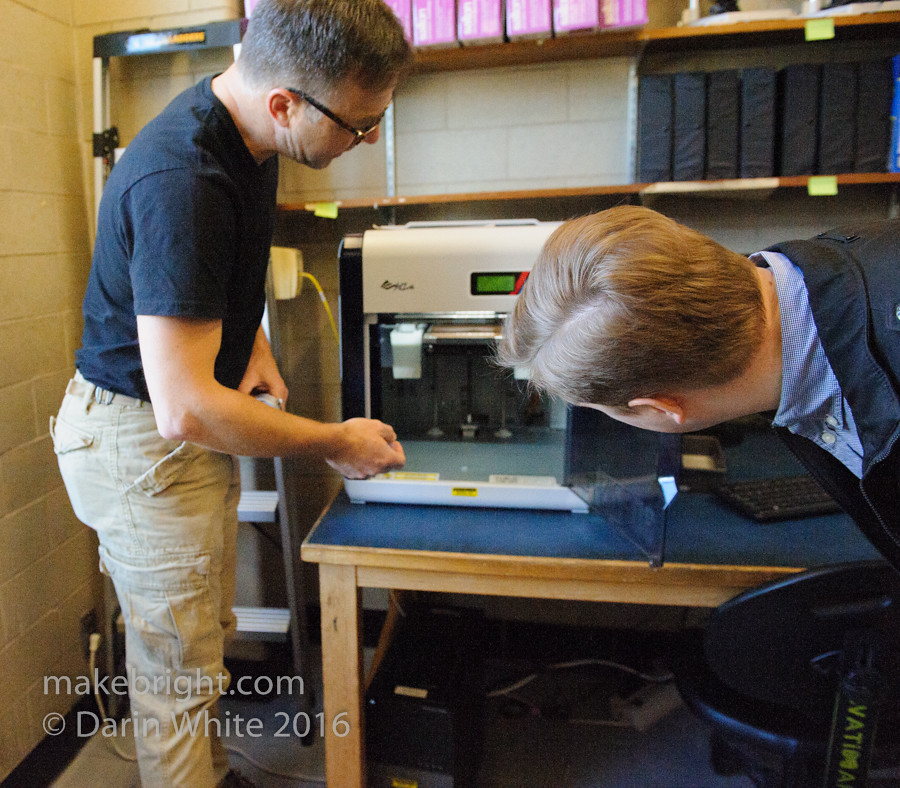
A Da Vinci 2.0 Duo from XYZ Printing. The workhorse of WATiMake. Seems like every space goes through a variety of manufacturers and models of 3D printers until they find the best reliability at a reasonable price. These go for about $800 (versus, say a $3.5K Ultimaker 2+).

3D printers by their nature are slow, so you need a bunch of them.

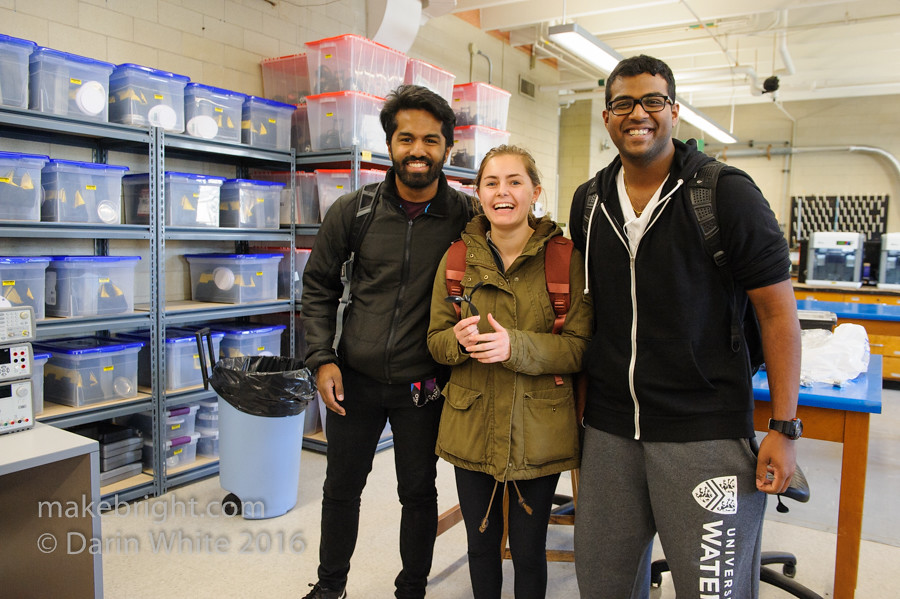
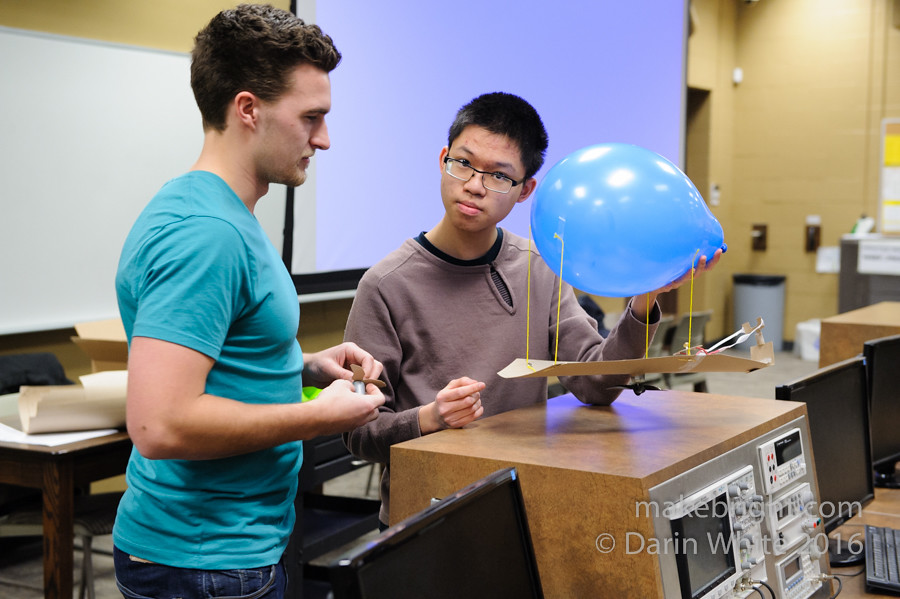
Three quarters of the 1B blimp-building group: (L-R) Joel Ravi, Sara Salmon and Yesith Jayasinghe. Clearly enjoying the project.
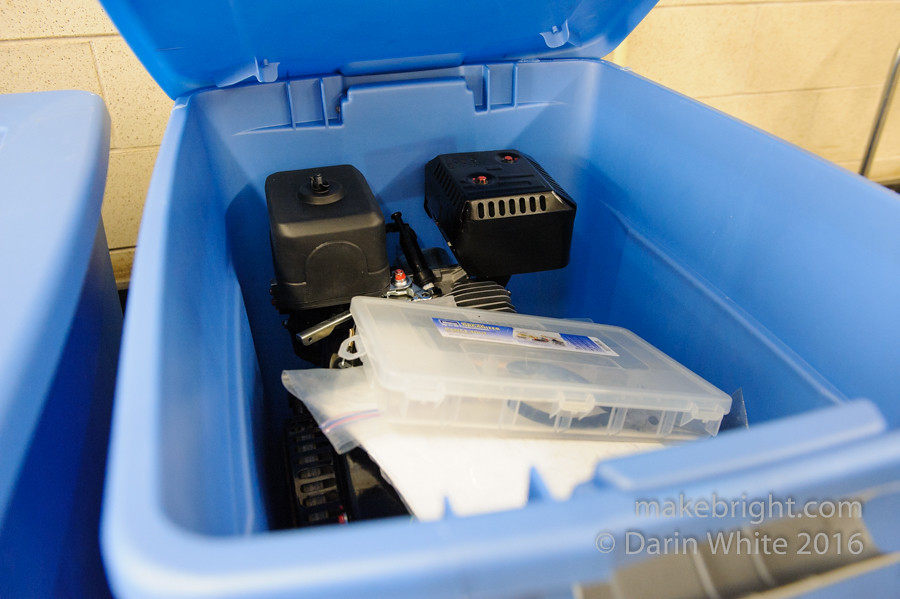
Small engine!
I’m told these Da Vinci printers are getting an upgrade to allow them to print PLA in addition to ABS plastic.

Reliability is the whole deal with 3D printing. A common problem, not here, are clogged extruders.
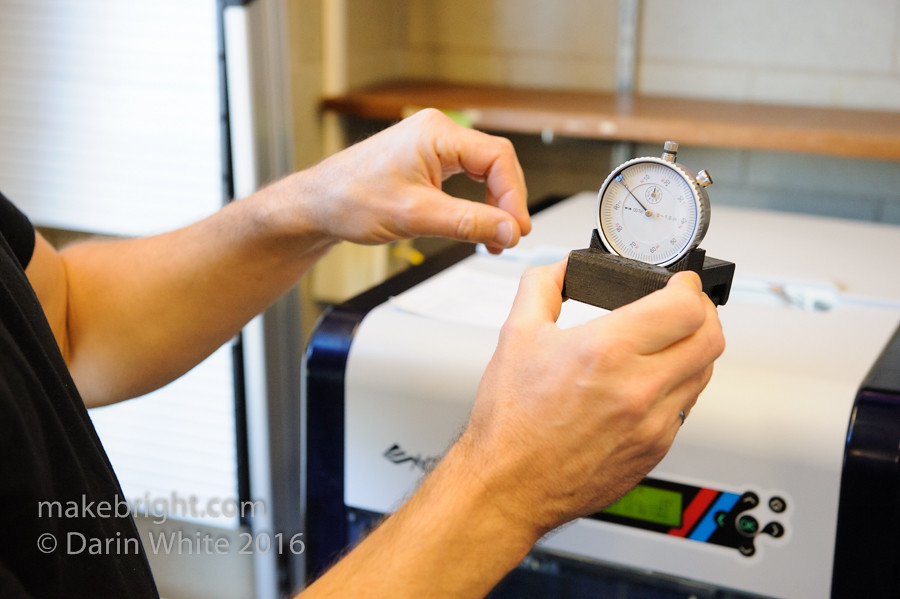
The trick with these units is leveling the print platform. So clever students designed and printed this jig for a run-out gauge that just snaps on the platform and helps them zero that out quickly.
It would be interesting to know exactly how many 3D printers James has at home.
Dremel drill presses.
Laser-cut stencil.

Oh this was very interesting and cool…
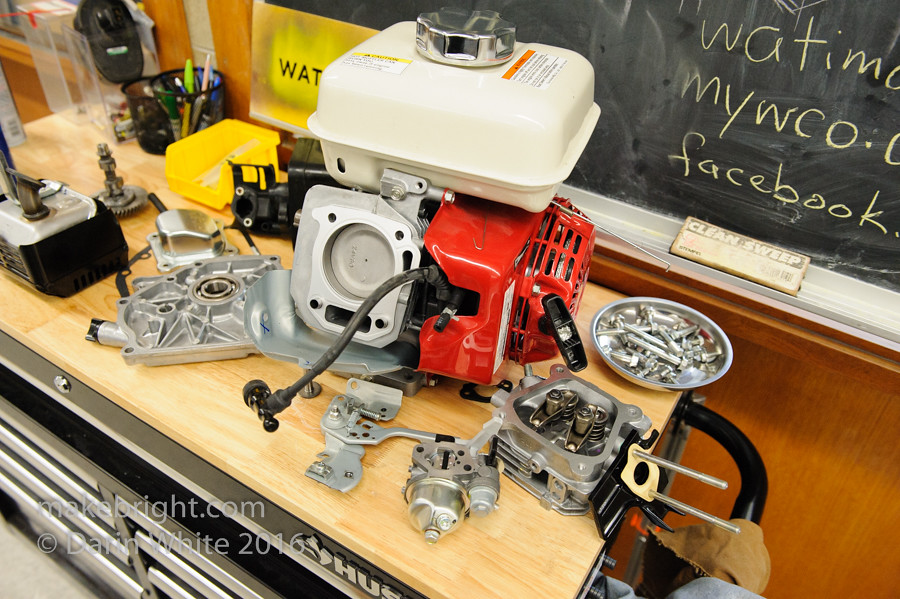
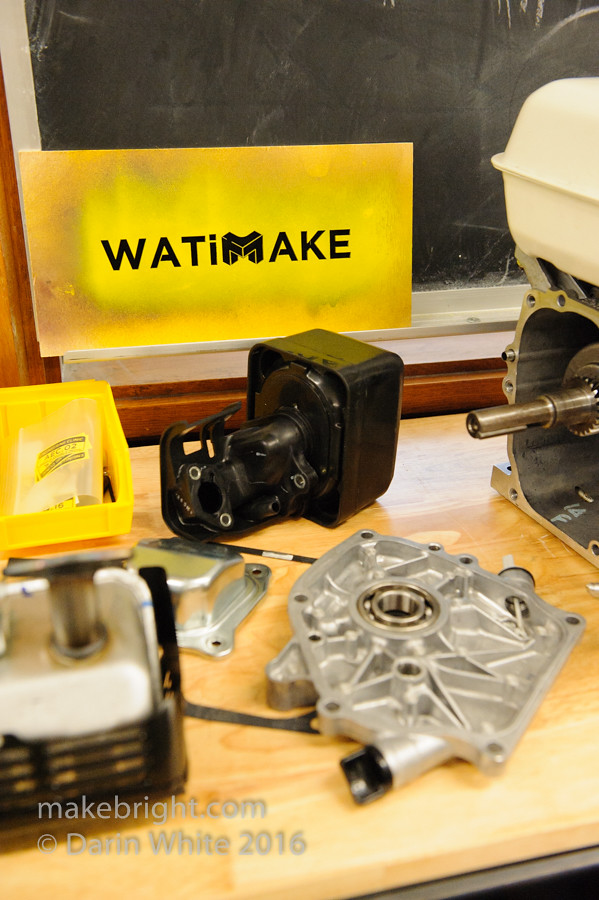
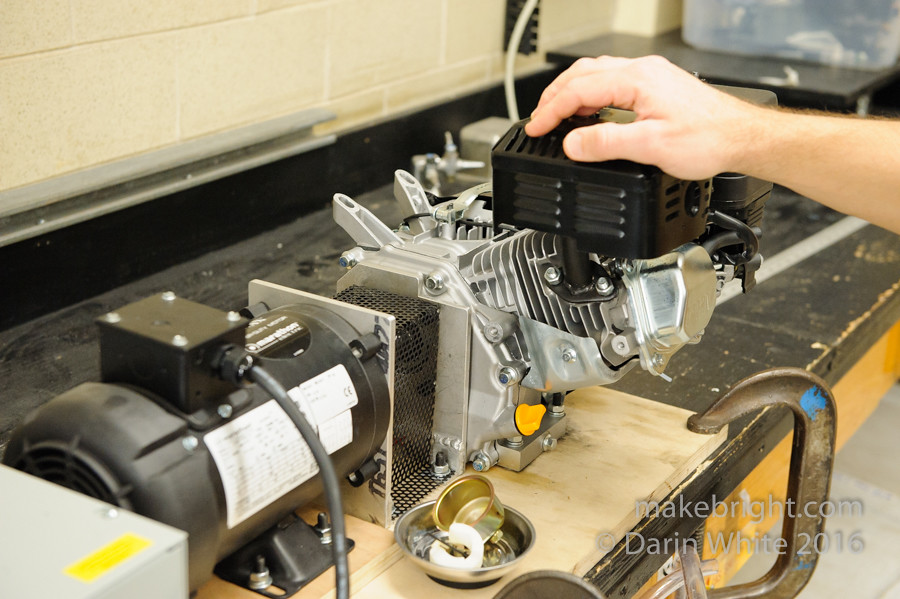
I heard a story that Prof Sanjeev Bedi bought a truckload of these small gas engines on sale at Princess Auto and then put them into the curriculum.
In groups, students are assigned an engine which they tear down and rebuild and then…
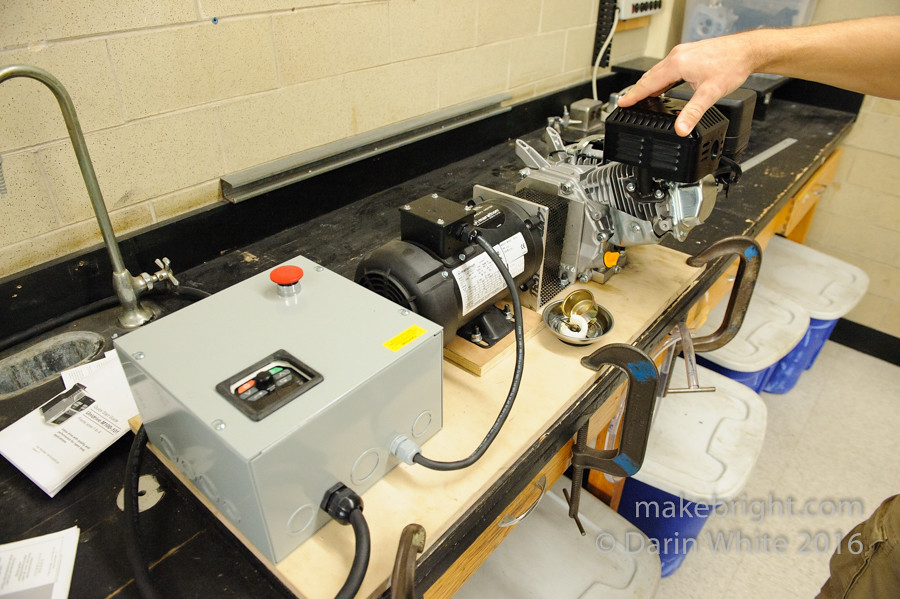
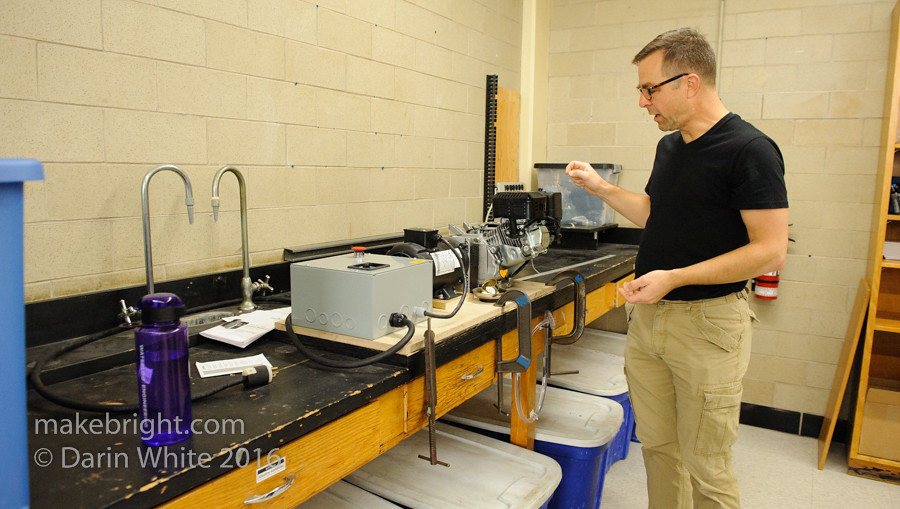
hook up to this rig to test it for compression and spark and timing.
When it’s warmer, these rebuilt engines get taken outside for live start.
Another flying project…

in the shop, that obviously made good use of the laser cutter.

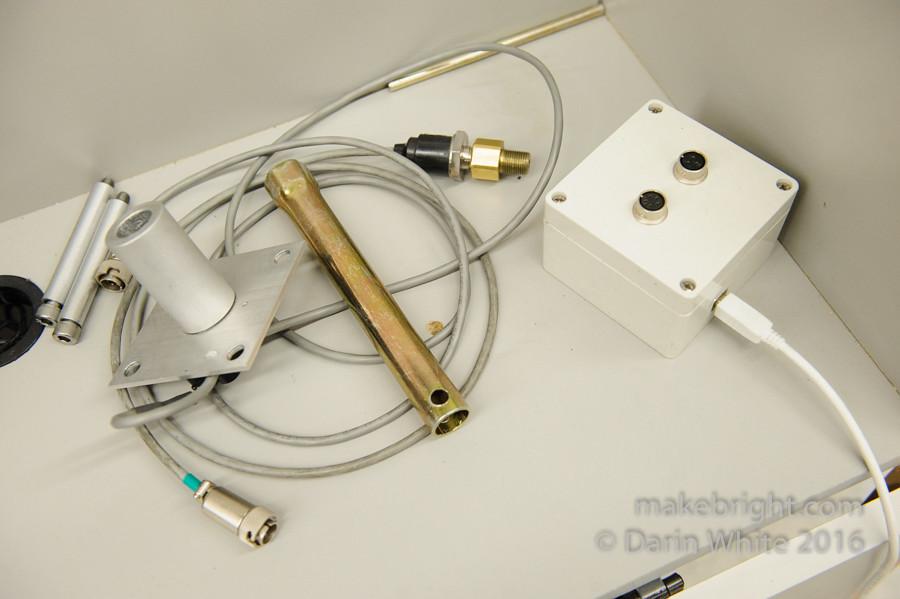
Engine test rig. Recognize the spark plug wrench?

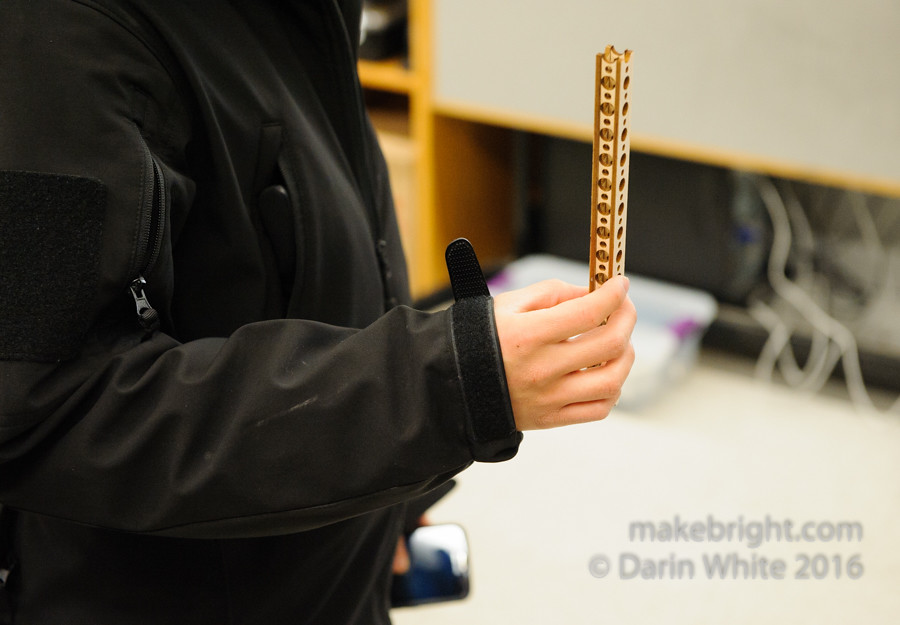
Adrian has a result: structural beam at one tenth the weight of the aluminum. Strength to be assessed.
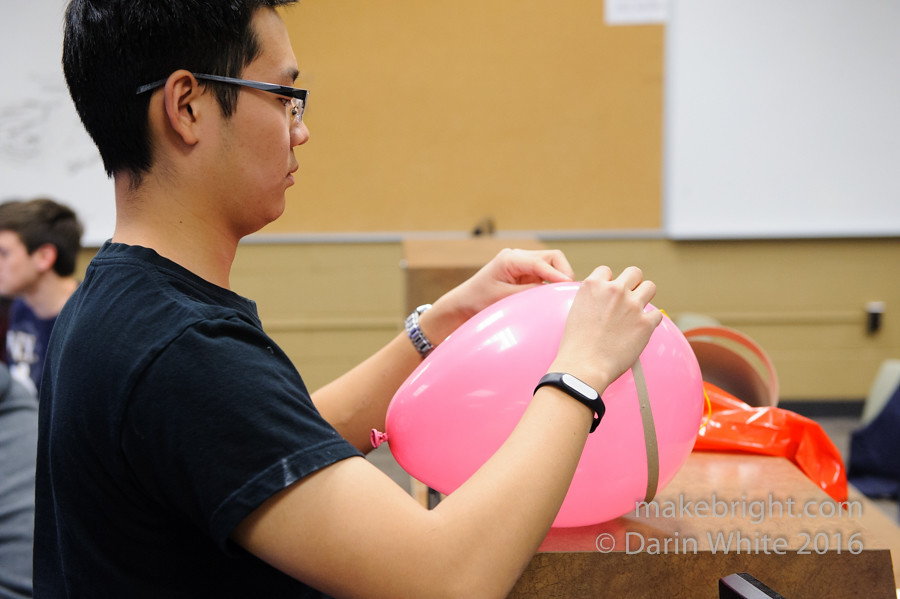
Helium for the blimps is wicked expensive. These blimps are slated to fly in E5 at the Engineering March Break Open House tour on March 19.
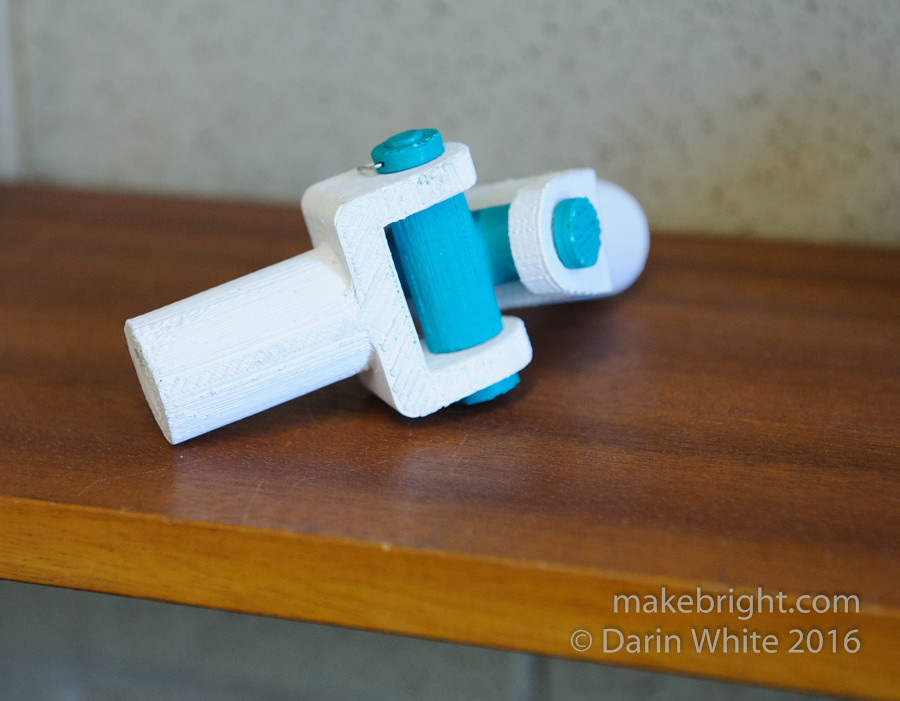
Ah, the trophy wall..
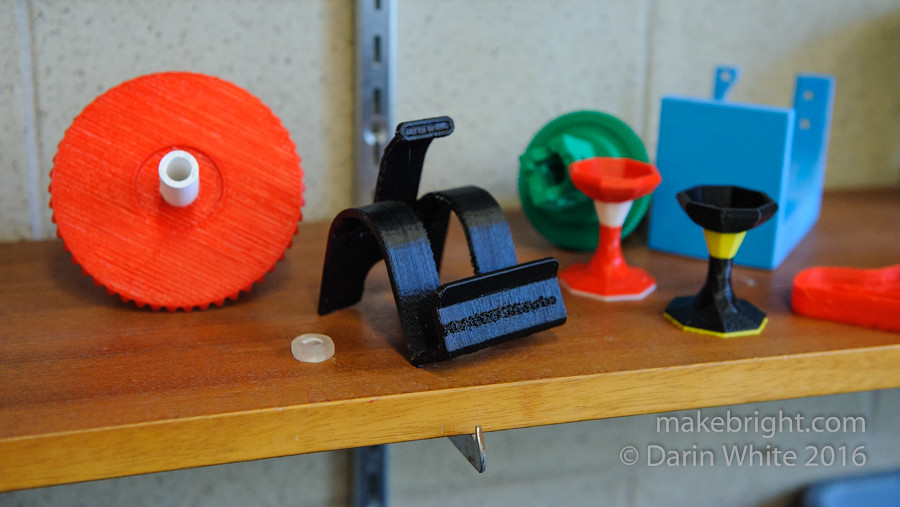
of printed parts…
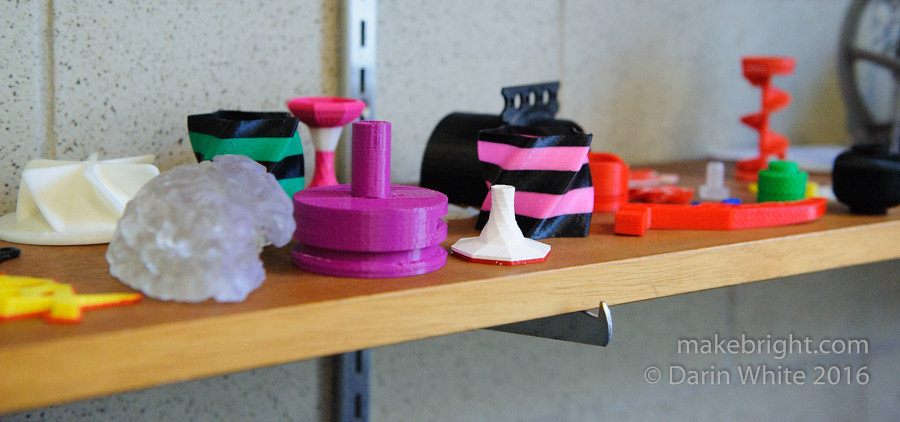
that accompanies every 3D printer…
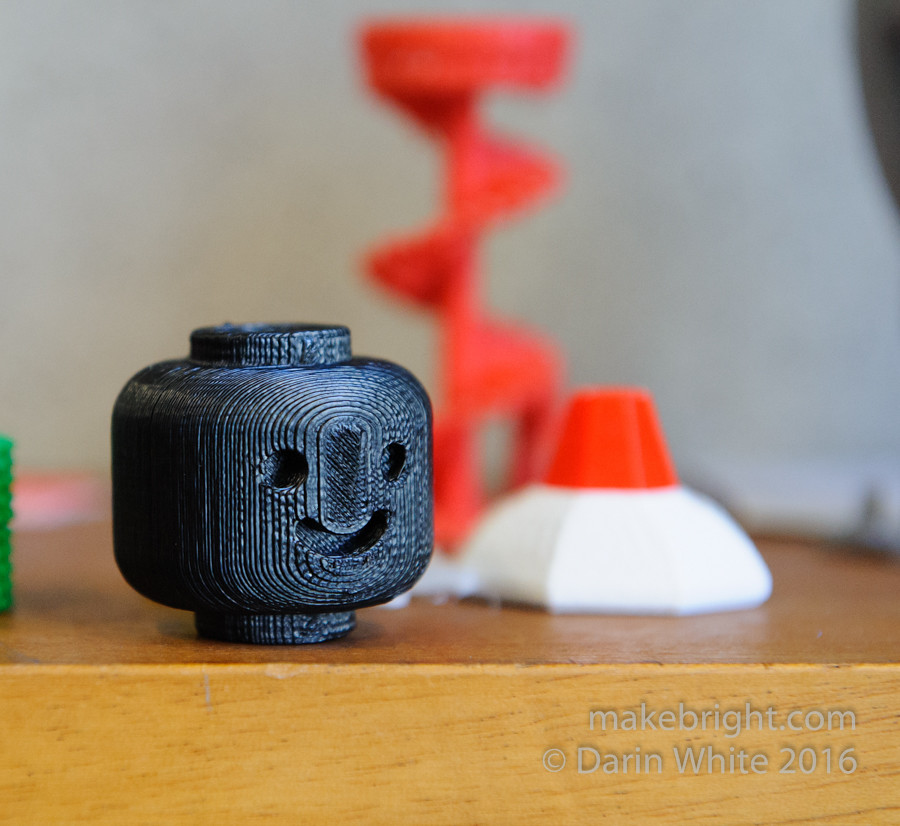
everywhere.
In the interests of safety, WATiMake is only open when it is staffed.
Andy was going to take us by the shop in E5, but there are always…

a couple more student queries first.

Just before we headed out…

I got to meet Professor Sanjeev Bedi (left). Andy described him as the main motivator behind WATiMake. He described a very cool electric car conversion project and I’m hoping to dig in on that story a bit more.
Through the labyrinth of corridors and over to E5, we peeked in the electric vehicle (EV) student club bay to see the car they’re building. Andy is their faculty advisor. Then we went by the machine shop which is open to all engineering students and features…
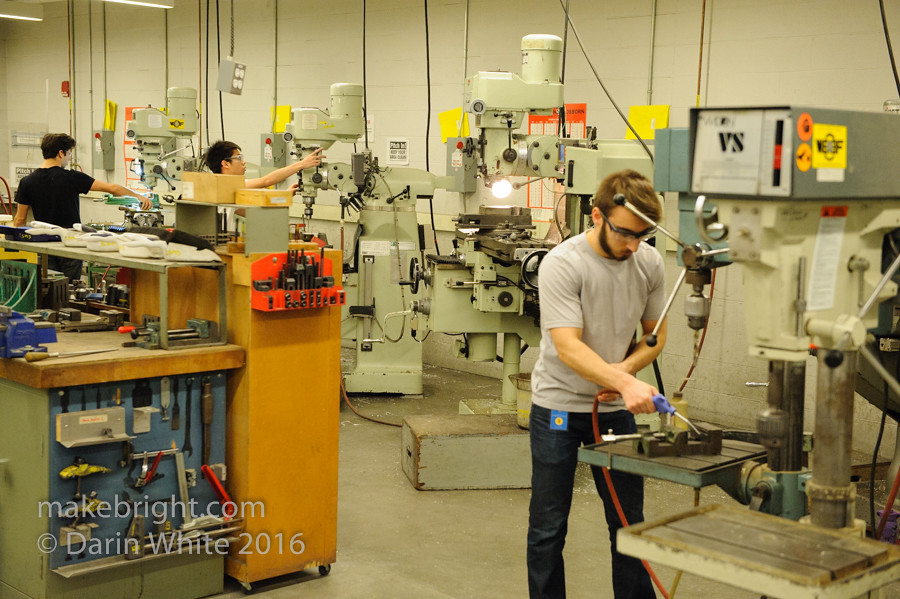
a terrific array of tools including these awesome knee mills.
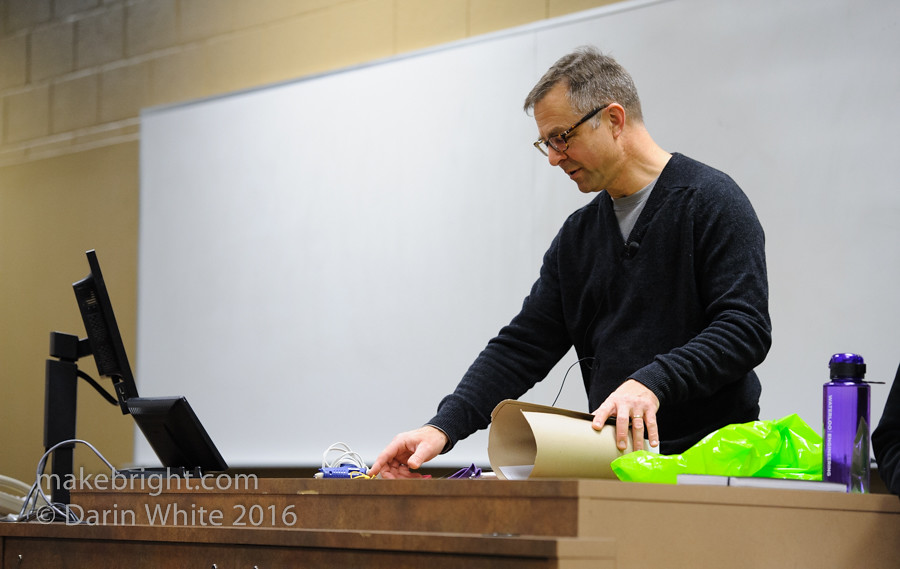
This was almost the end of the story, until I got an email from Andy asking if I’d like to stop by and see his students in action doing some prototyping. You bet! So Thursday afternoon I returned solo to…
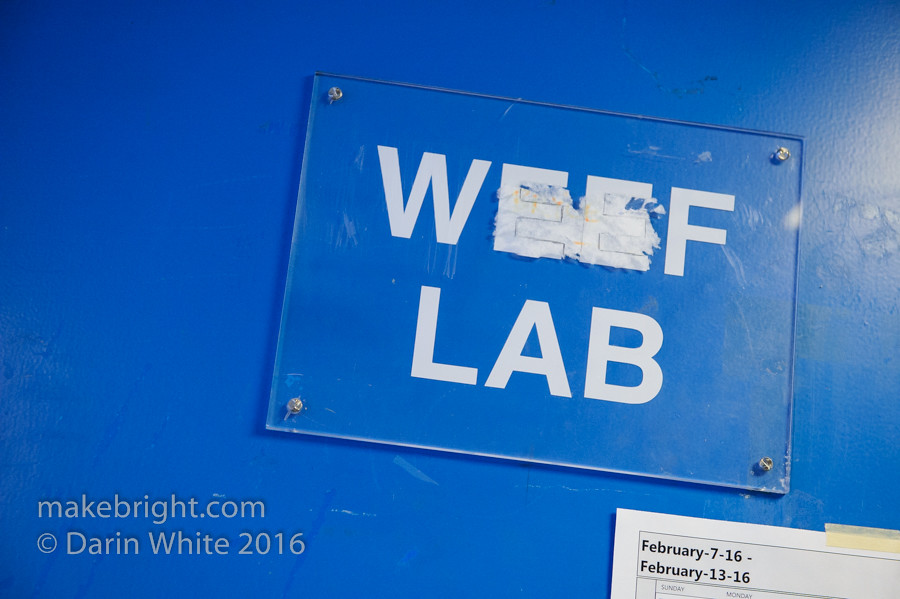
the Waterloo Engineering Endowment Fund (WEEF) Lab to ask questions and shoot photos. Well, the truth is I showed up back at WATiMake and happily Clinic Engineer Jen Rathlin walked me through the maze to get to WEEF Lab (thanks Jen!)


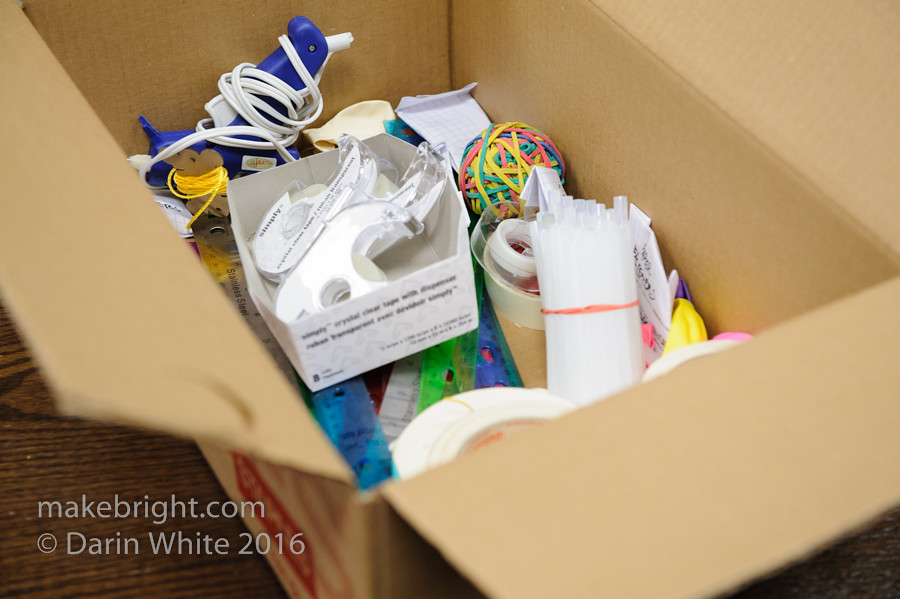
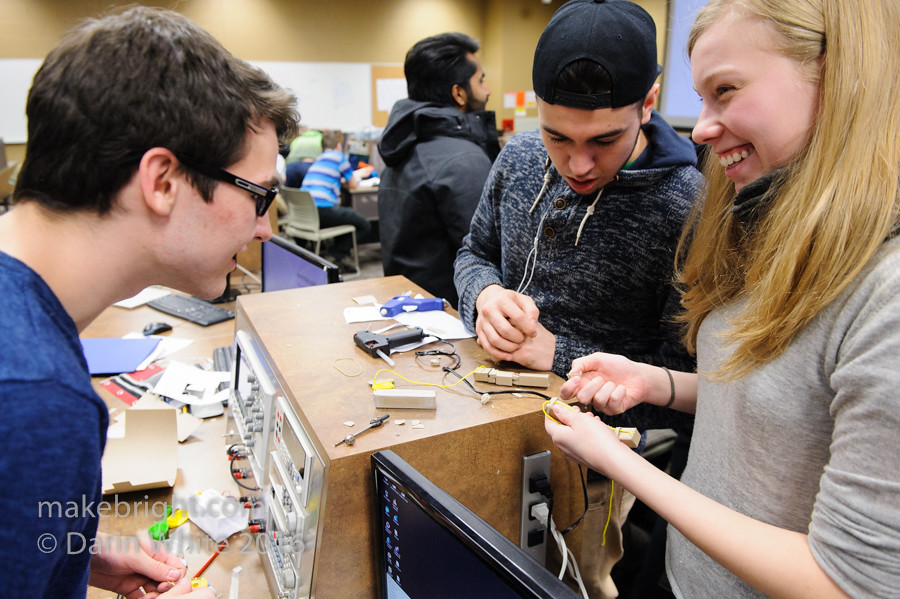
Today’s assignment. Lo-fi prototype your blimp, car ABS, robot hand using the materials…
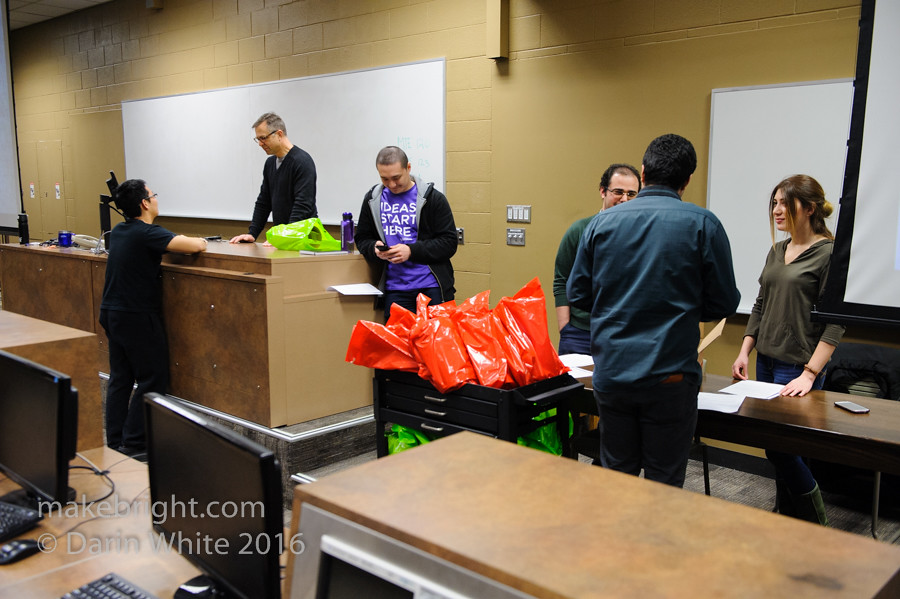
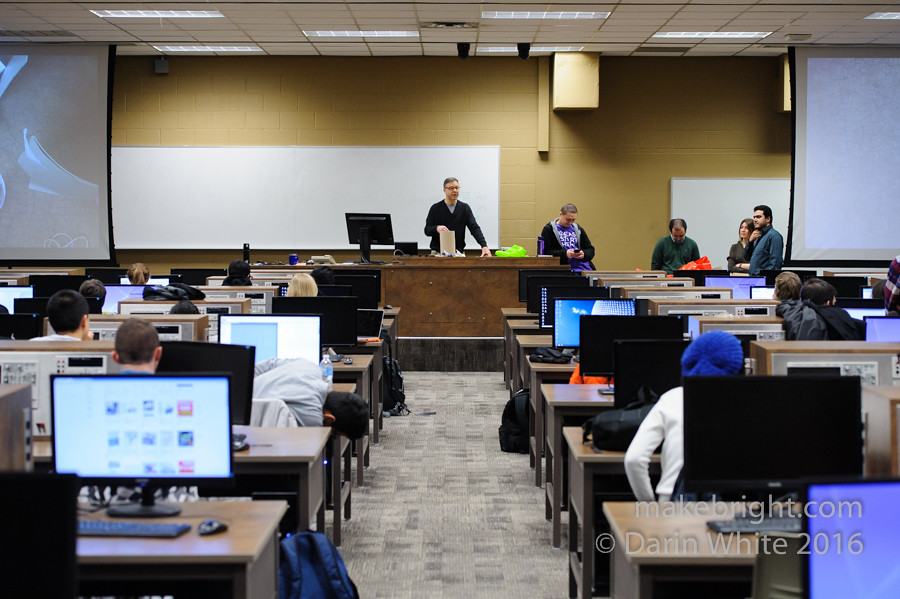
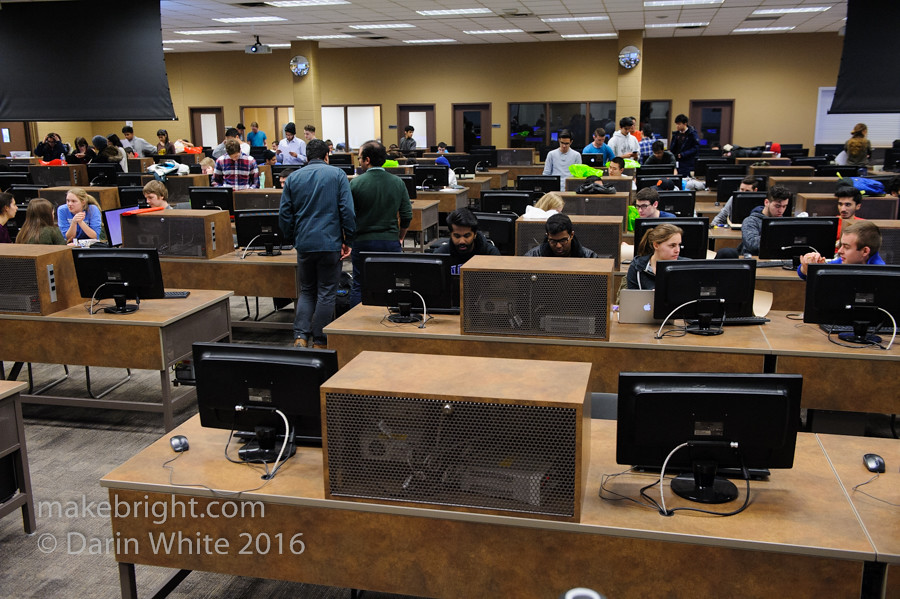
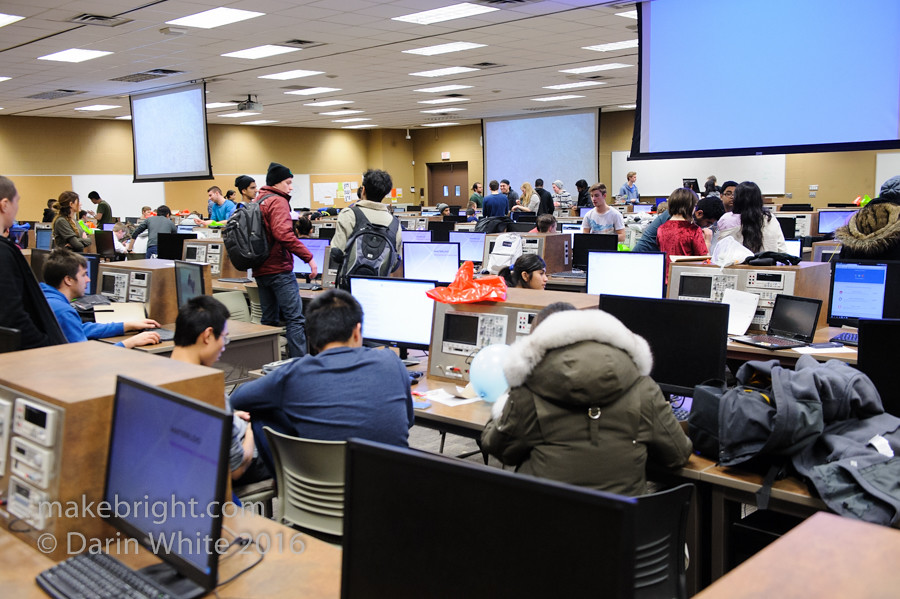
in the bags. Grad students were at the ready to help answer questions and assess the progress. This course is ME101 and is a whopping 120 students.
Extra stuff.

Intro.
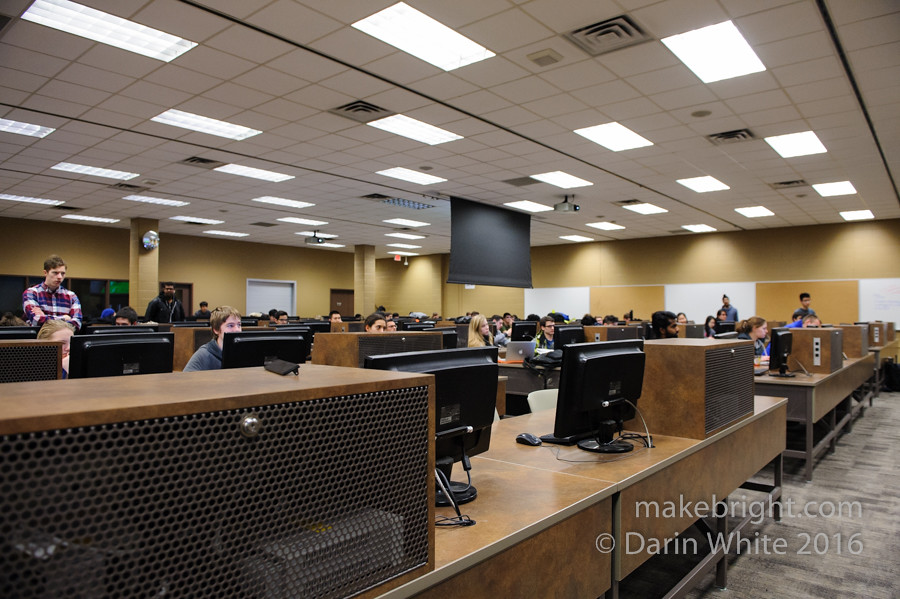
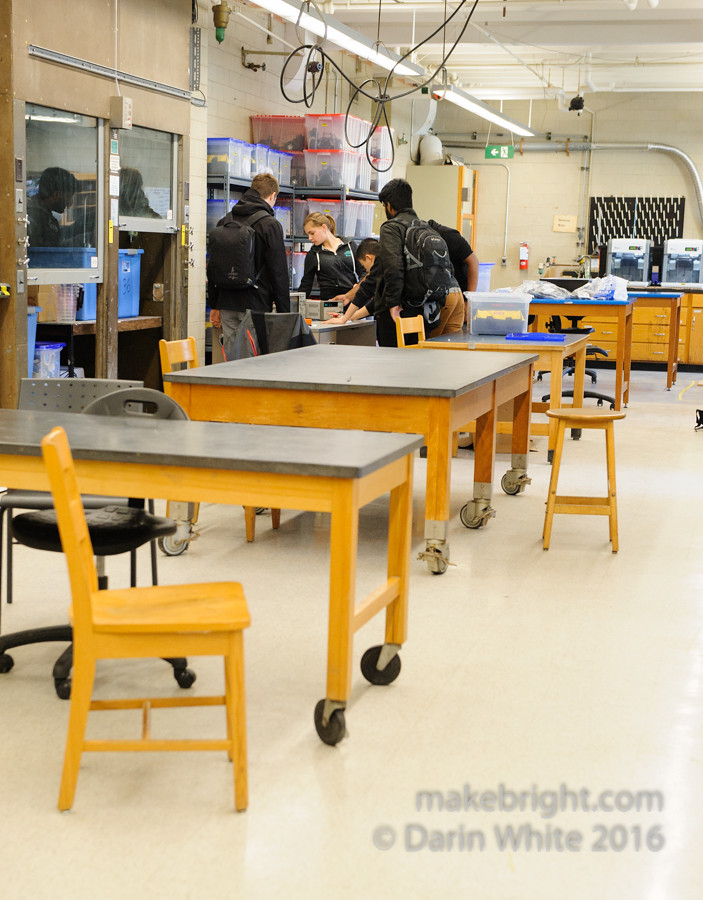
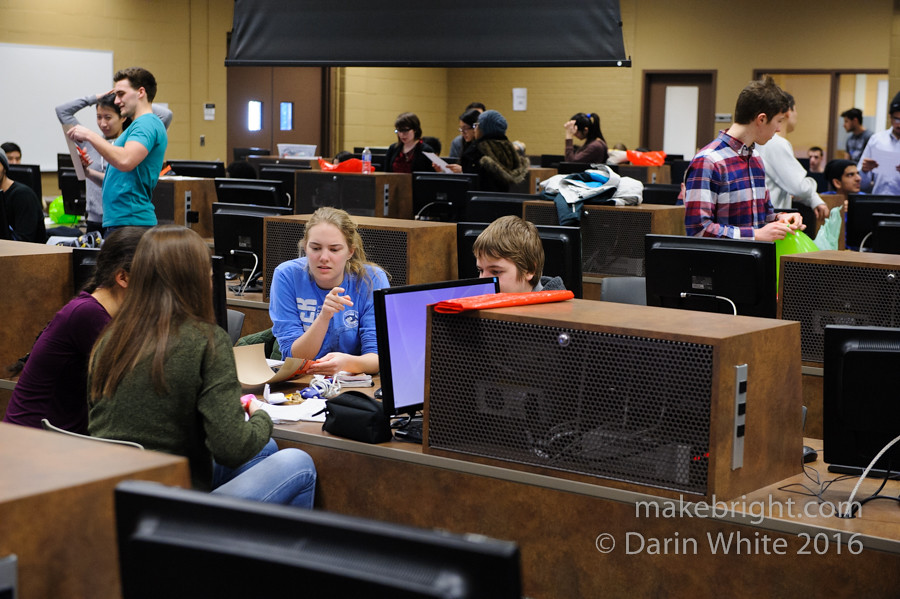
Big lab.
Really big.

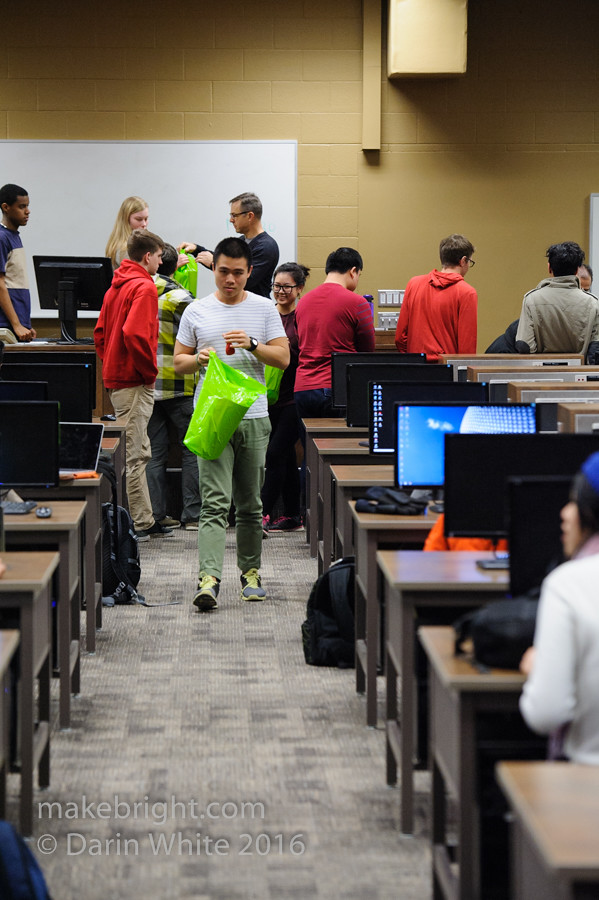
Grabbing supplies…
and getting down…

to work. SolidWorks is the CAD tool of choice and is accessible at all the desks once you log in to your student account.

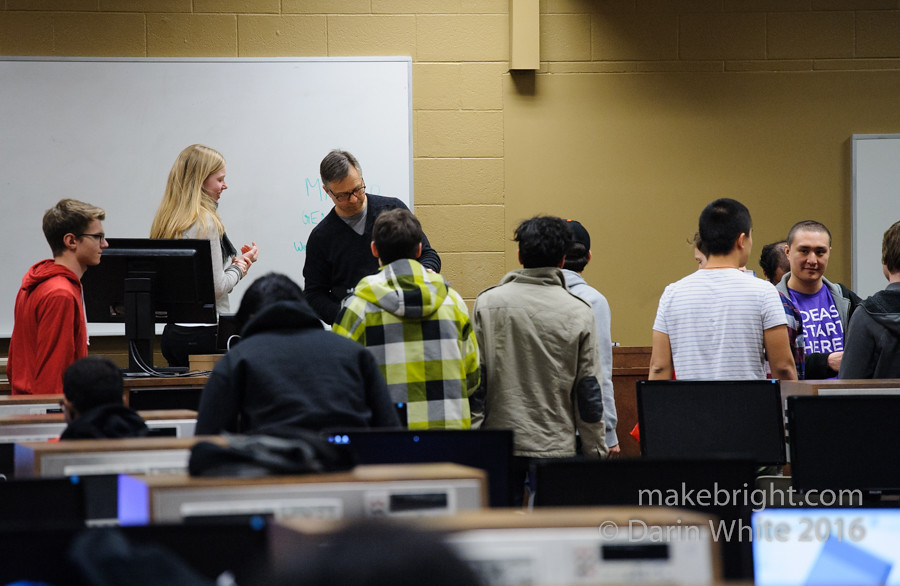
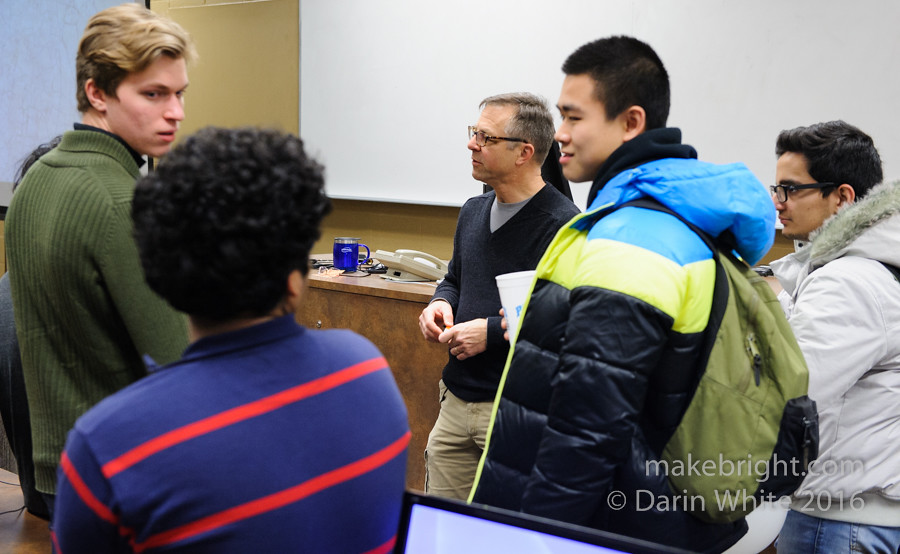
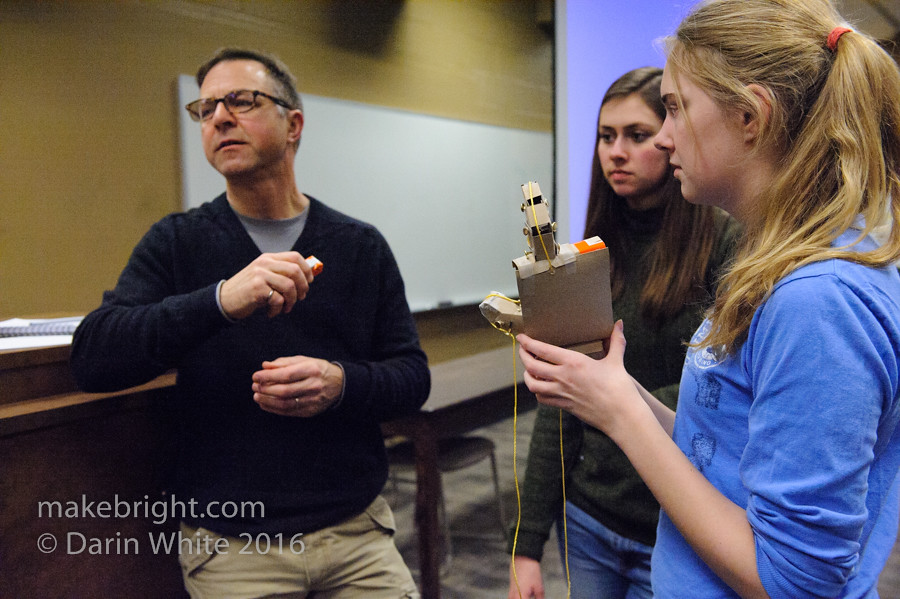
So too began 2.5 hours of non-stop questions and bouncing ideas off the prof. Now I know why Andy carries around a water bottle.
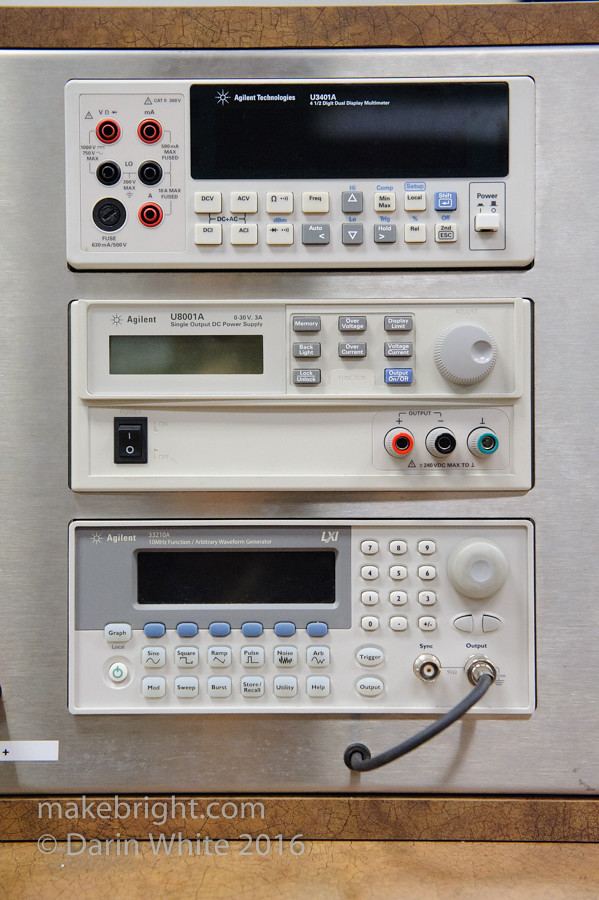
Each desk had a power supply, multimeter, and function generator built in.
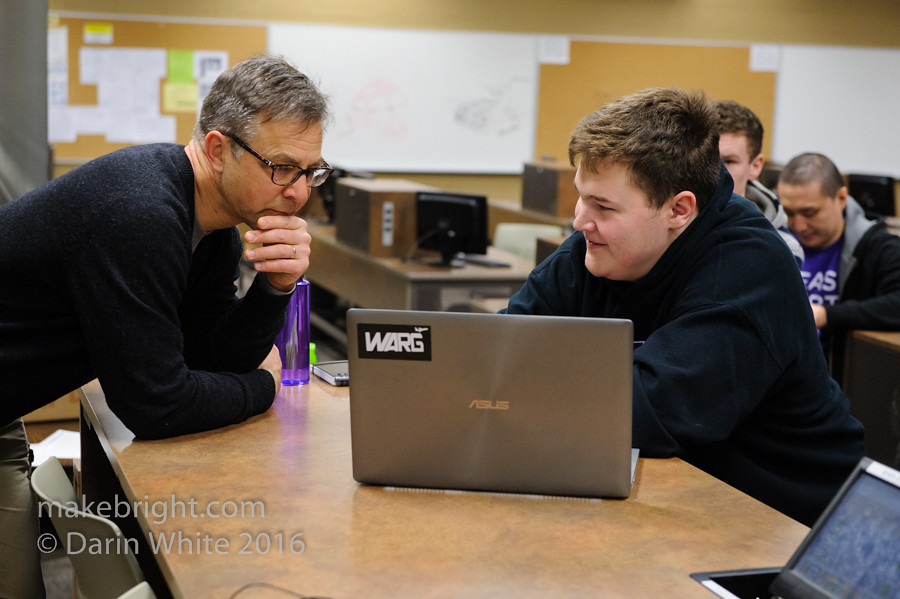
This is a pretty huge chunk of the day for one course. But everyone seemed really into it. Andy describe a phenomenon to me where students do up elaborate designs in SolidWorks, but those designs don’t hold up in real life. Hence a mix of CAD and prototyping works best. He suggests breaking down the problems by building and testing components of the overall solution.
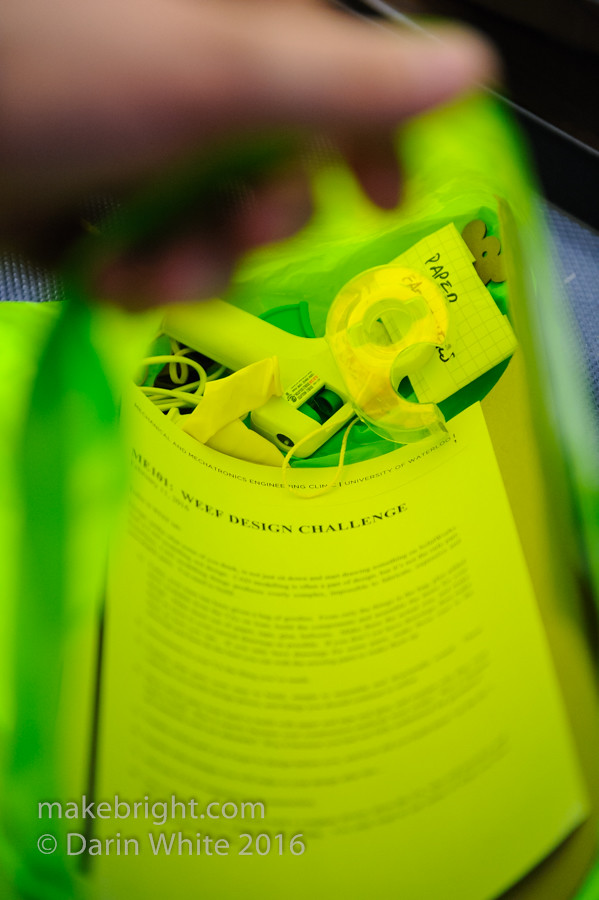
Hot glue, tape, cardboard. You supply the imagination.
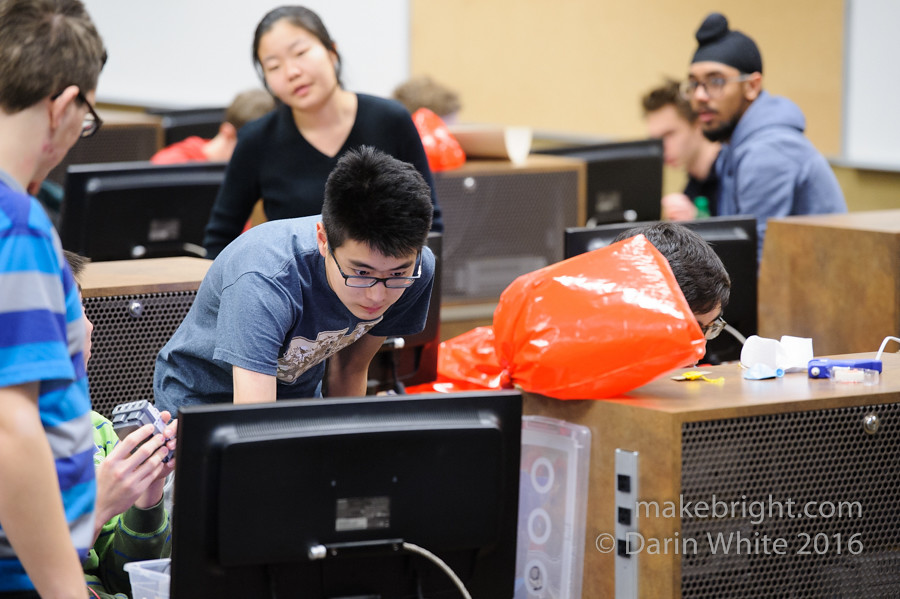
It was pretty easy to identify the blimp teams.

I got chatting with this team working on anti-lock brakes.

They had to make and state some assumptions.
Lots of talk about how the system would detect which way the wheels were turned.
Blimp team!

Blimp with fins.
They’re also using Lego NXT robotics bricks and sensors, so maybe a touch sensor will work here.
These guys had a different approach, choosing to use a colour sensor and disc to detect wheel-slip.
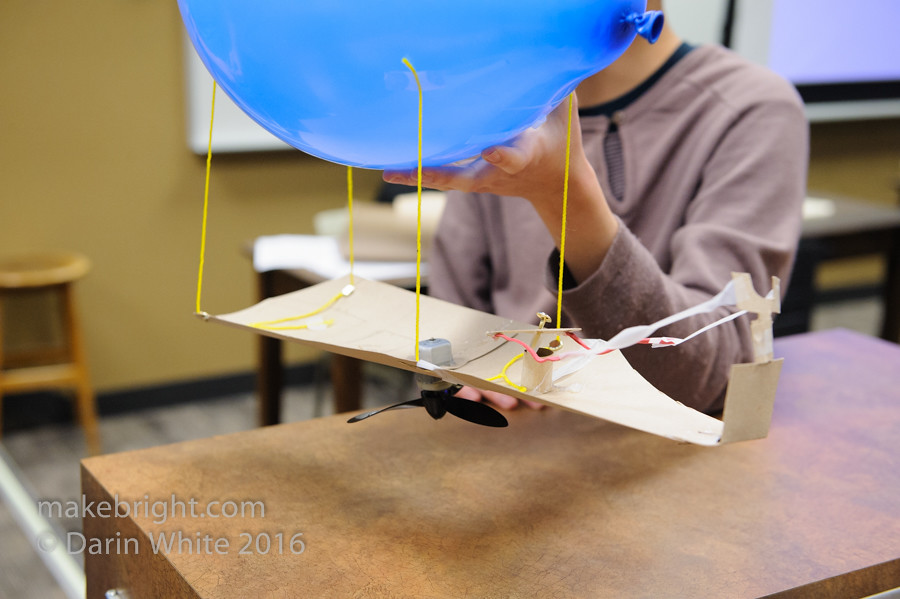
Blimp propulsion rig. The blimps will be R/C and are required to fly for 60 minutes.

Lots of serious consideration about payload which includes this super heavy NXT brick. This team would have been delighted to substitute a much lighter Arduino. They also need to send up the radio receiver, prop motors, steering servos, batteries for all this stuff. And the stated helium budget is very tight.
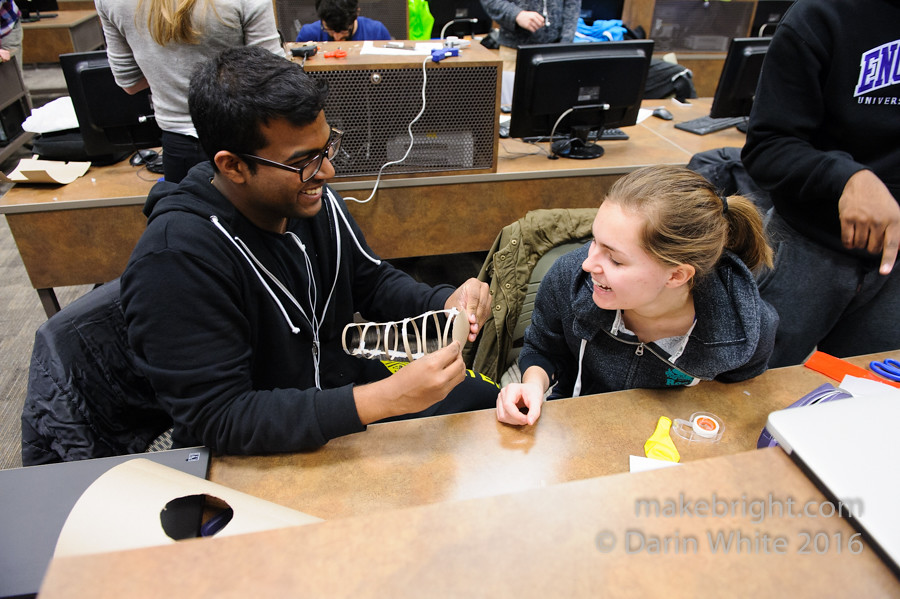
Hey, here’s Yesith and Sara whom I met the week before. Working on the blimp frame.

Joel: make the front like this.
Eavesdropping on conversations with Andy and the TA’s, I learned that students need to do all sorts of load, friction, etc calculations to go along with the hands-on work.
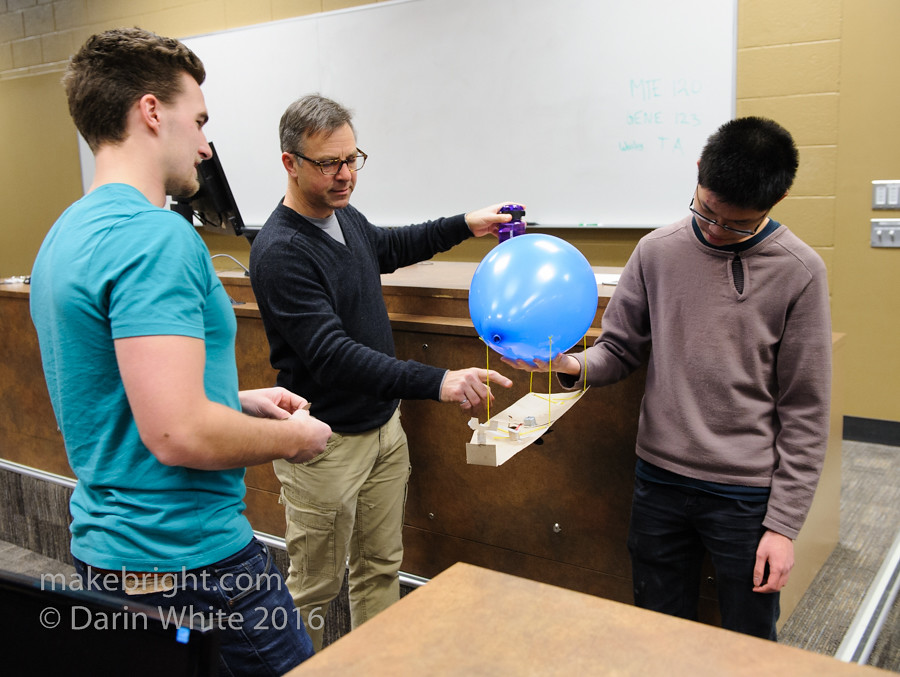
Andy kept saying: “Weight is your enemy!”
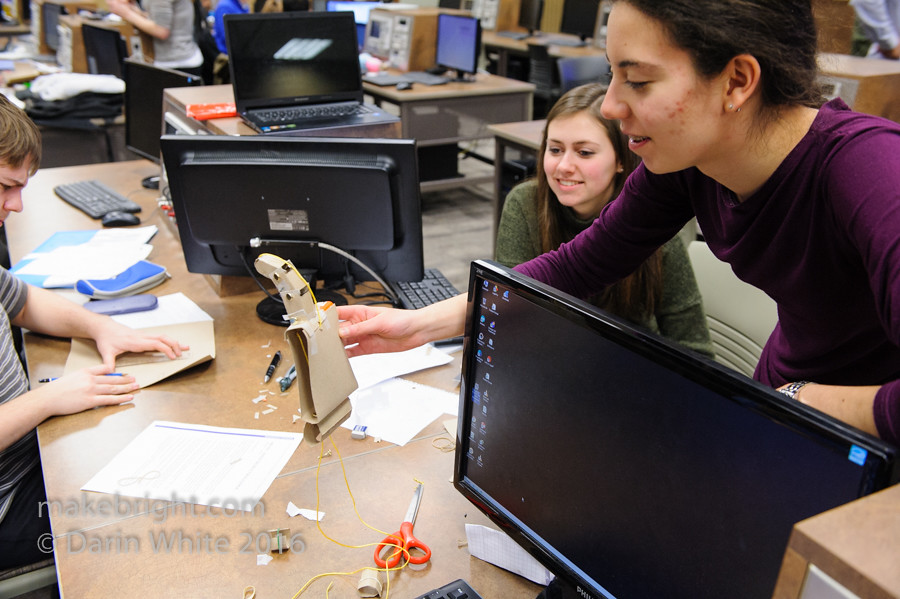
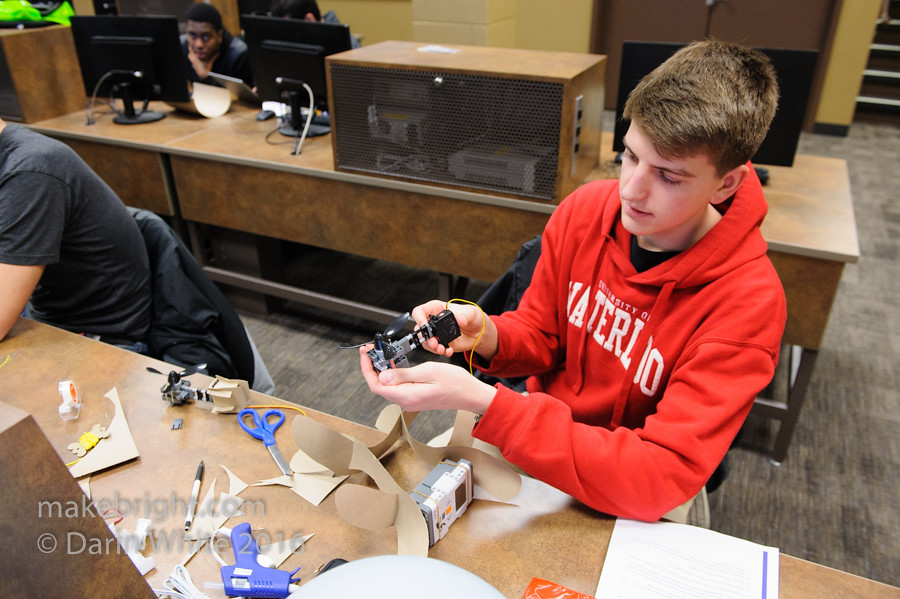
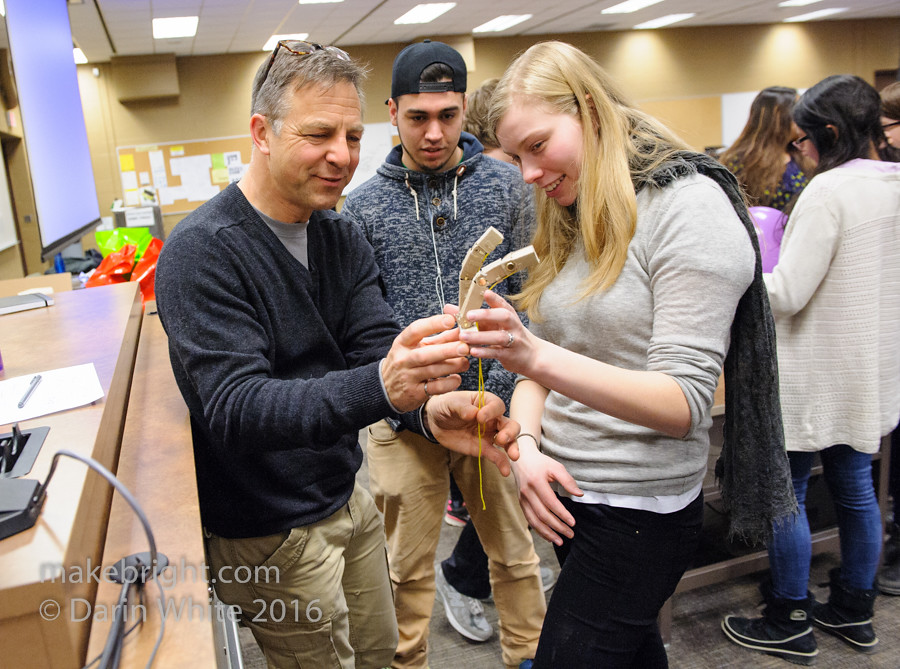
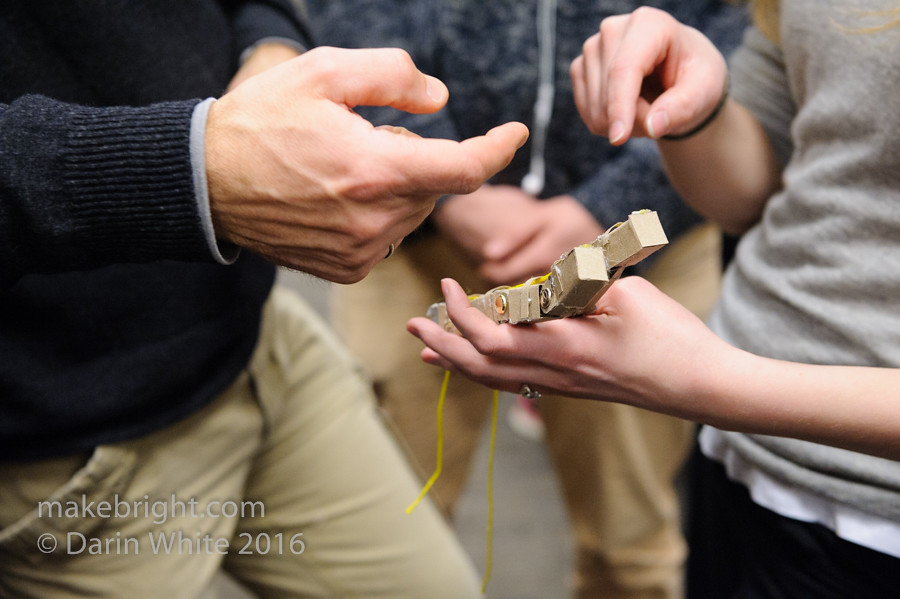
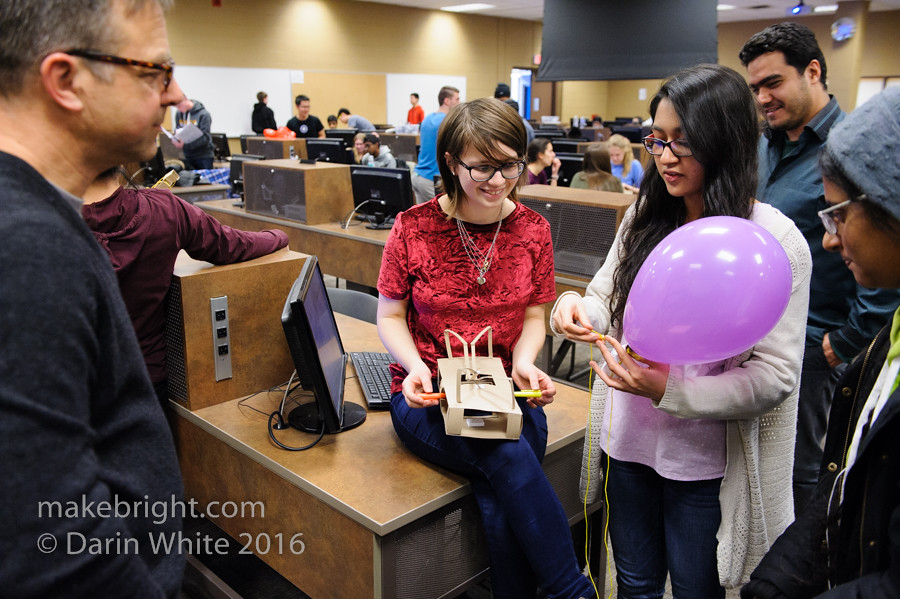
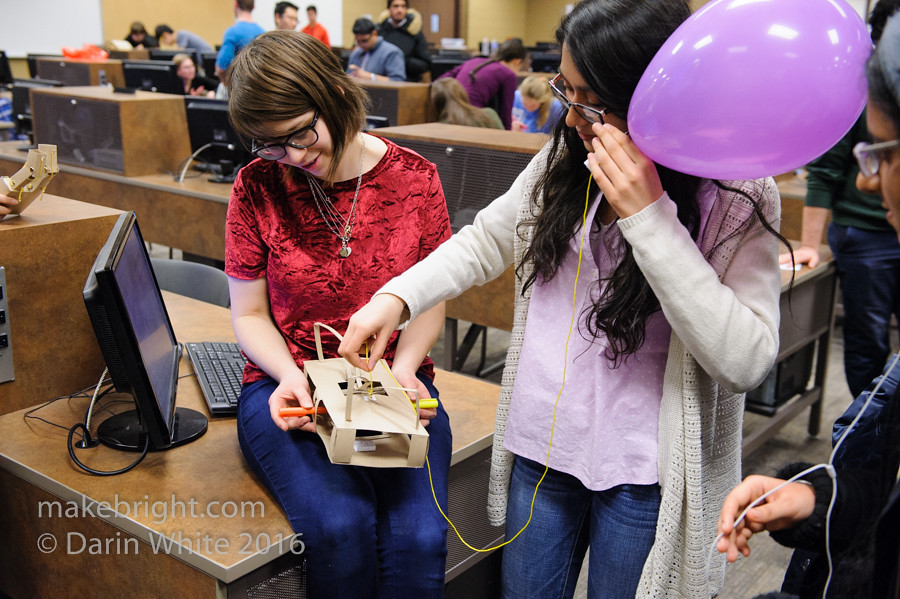
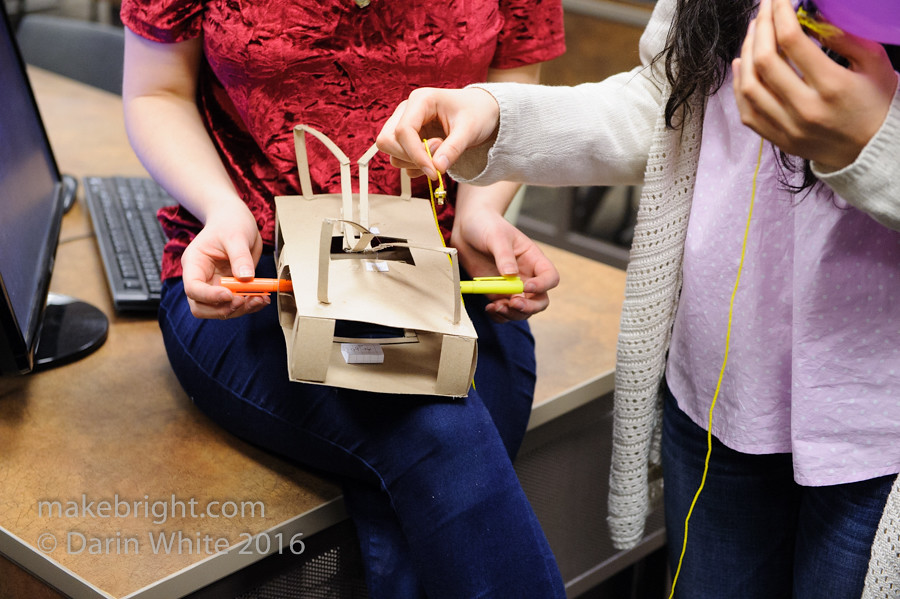
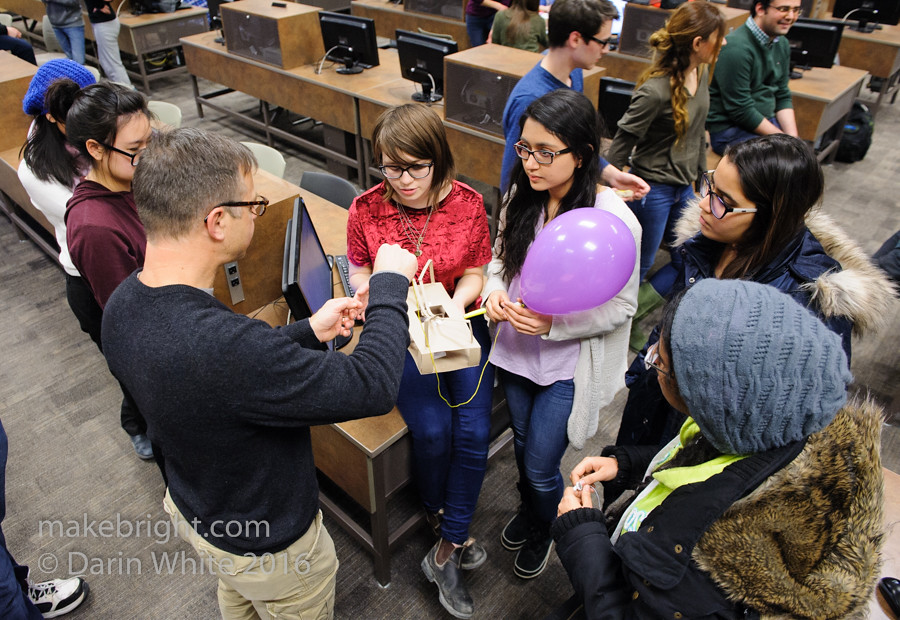
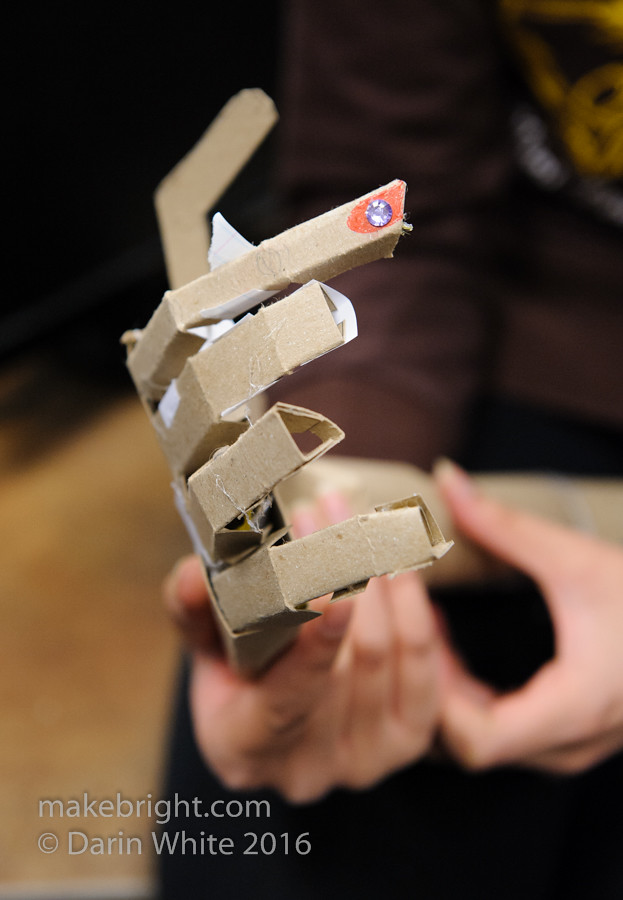
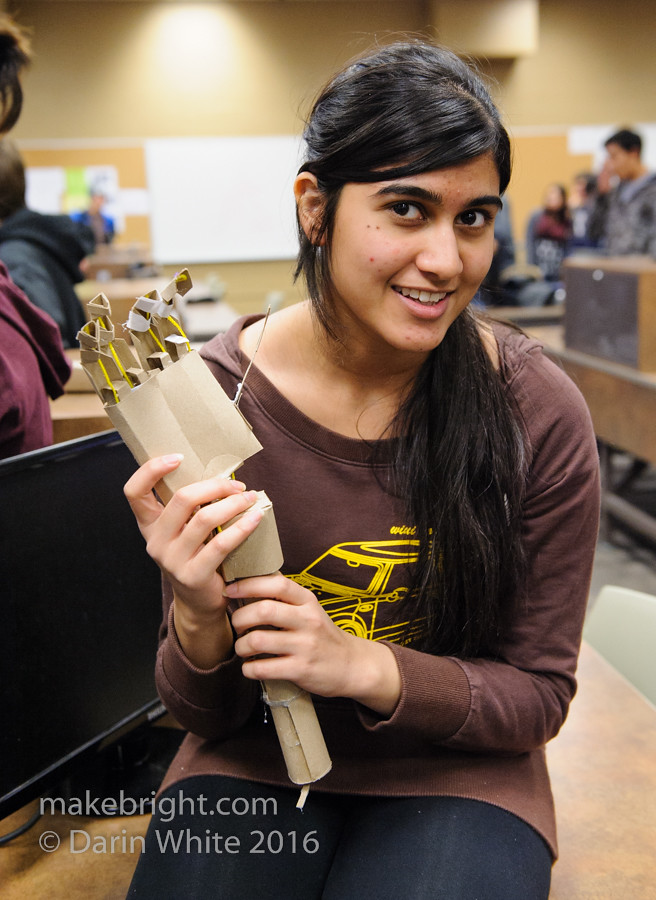
Robot hand in action.
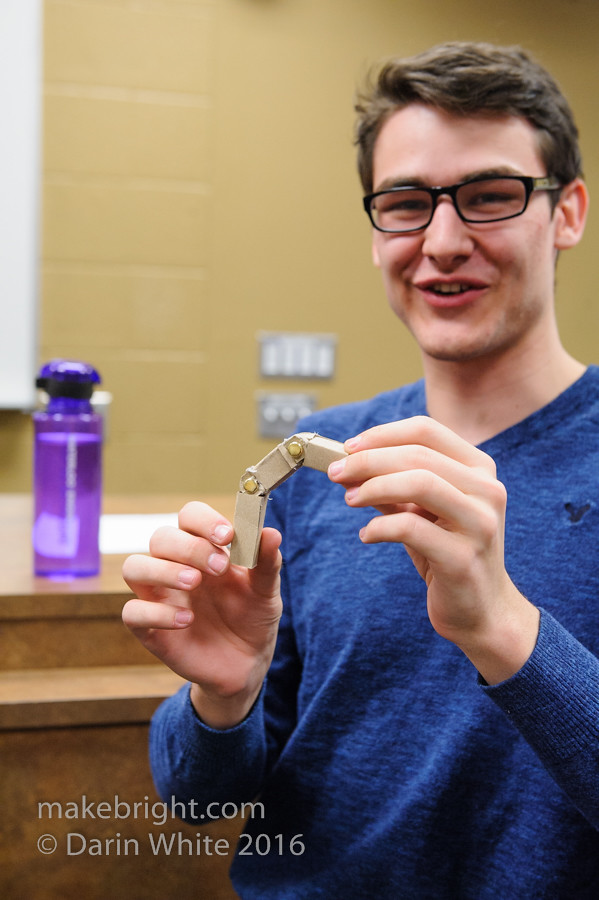
These joints worked surprisingly well.
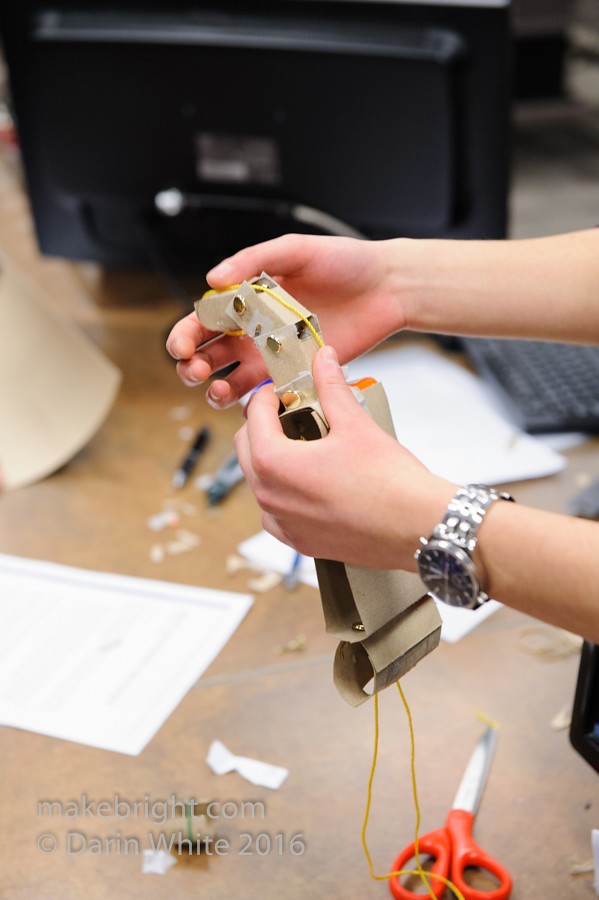
A pretty common approach were motor-driven string “tendons” front and back to flex and extend the fingers.
Tons o’ questions.
I think this group was trying elastic bands as a finger extension mechanism. Smart.

You can figure out a lot fast and cheap with cardboard.
This is what my bench looks like. At home.
Quick lessons on driving brushed DC motors with the NXT brick. Interesting to watch students figure out which motors to use in different applications. Servos for steering, el cheapo DC for propellers, DC geared for power.
Making progress.
Very interesting to me to see a variety of approaches on the same problem. Big thanks to all the students for entertaining my questions.
This group was tasked with designing and building a blimp capture device.
Trailing cord from blimp goes in here and…
is reeled in on the drum.
Beware of overlap tangles, Andy notes. Oh, and you better make it lightweight because you have to sell your idea to all these blimp builders who are already way over their lift capacity.
This hand…
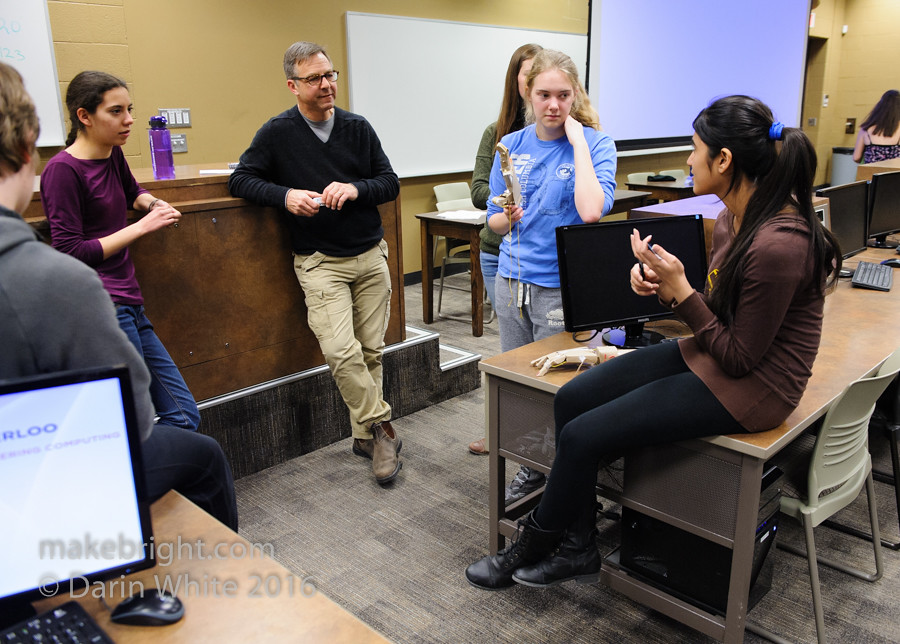
is made by Sameen and her group. Andy introduced Sameen as the maker who sorted out all 3D printing in WATiMake on a co-op workterm. She figured out all the optimal procedures and settings and documented the whole thing (though she laments that “nobody reads the documentation”). I asked what the big takeaway was from that experience and she said: use the laser cutter whenever possible. She said one of the best uses of the 3D printers was to make custom superhero cookie cutters.
I talked to her quite a bit about her experience as a woman in the predominantly male class. This is top of mind for me as my daughter Arden has her sights on UW Engineering in two years. Sameen said it’s important to just believe in yourself and what you want to do, even if your friends are doubtful of your choice of studying engineering. She added it was doubly hard as a woman from Pakistan to go into engineering, but she had a lot of encouragement from her dad. Yay dads! Sameen is hoping to land a co-op job at Formlabs (who make that awesome SLA printer we saw earlier in this post). I hope the folks there are paying attention because Sameen is a maker’s maker.
Not an intentional gesture from the robot hand.
Half an hour past the end of the lab, Andy needs to send the students on their way. I noted to him the happy lack of functional fixation as I wandered around and he said they work quite consciously to eliminate that. So good.
This was a great opportunity to see hands-on learning in action and the integration of makerspace tools and philosophy into the curriculum. Big thanks to Andy for inviting me in and letting me wander around and chat with students.
The future looks very bright indeed.
On University Avenue, this is Waterloo.
DW
Another great article Darin. I’m glad to see you hooked up with Sanjeev and the Clinic/Watimake team! Engineering runs other Idea Clinics that get hands-on thinking into the curriculum. Some resist it (faculty, I mean!) but I suspect it’s here to stay (as it should be!). In their second year materials class, the Biomed Engineers make bioplastic and then come up with all manner of physical tests for it. Great stuff. If you’re interested I can hook you up. 🙂