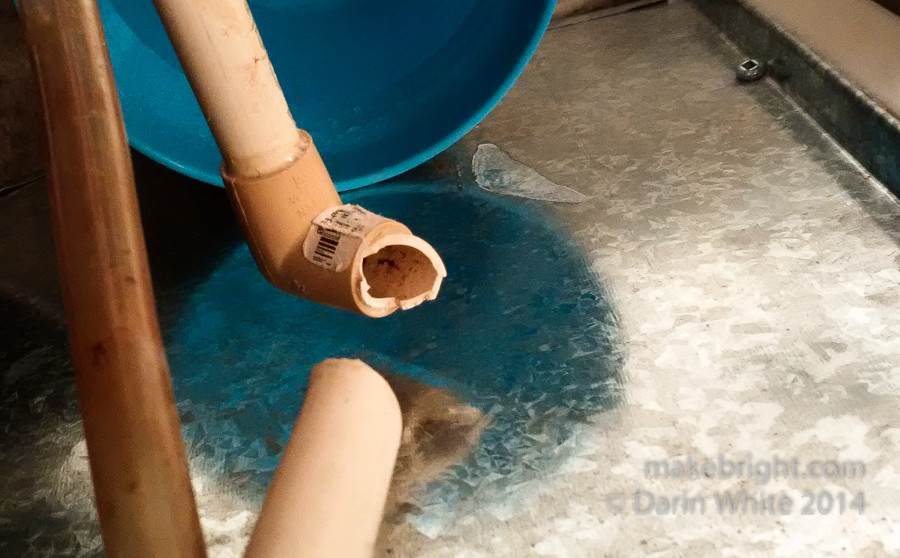
Regular readers may recall that I had water on my basement floor last month. And despite the necessary washing machine maintenance, the water leak culprit turned out to be this plastic drain pipe behind the furnace. It had been unknowingly cracked by overzealous storage of luggage, also behind the furnace. If you can safely merge in traffic then you are capable of undertaking this repair.
Yes, we’re going to talk about this specific situation, but if we dial down our functional fixation for a moment, we’ll see that once we can solvent-weld inexpensive plastic pipe together, we can apply these skills to build all sorts of things with this great medium akin to adult Tinkertoys. So in typical makebright fashion, we’ll weave in the meta discussion throughout.
Want to make a puppet stage? A custom kids’ fort? A drying rack for your darkroom? I once made an oversized classic physics experiment installation. On a train. Out of plastic pipe.
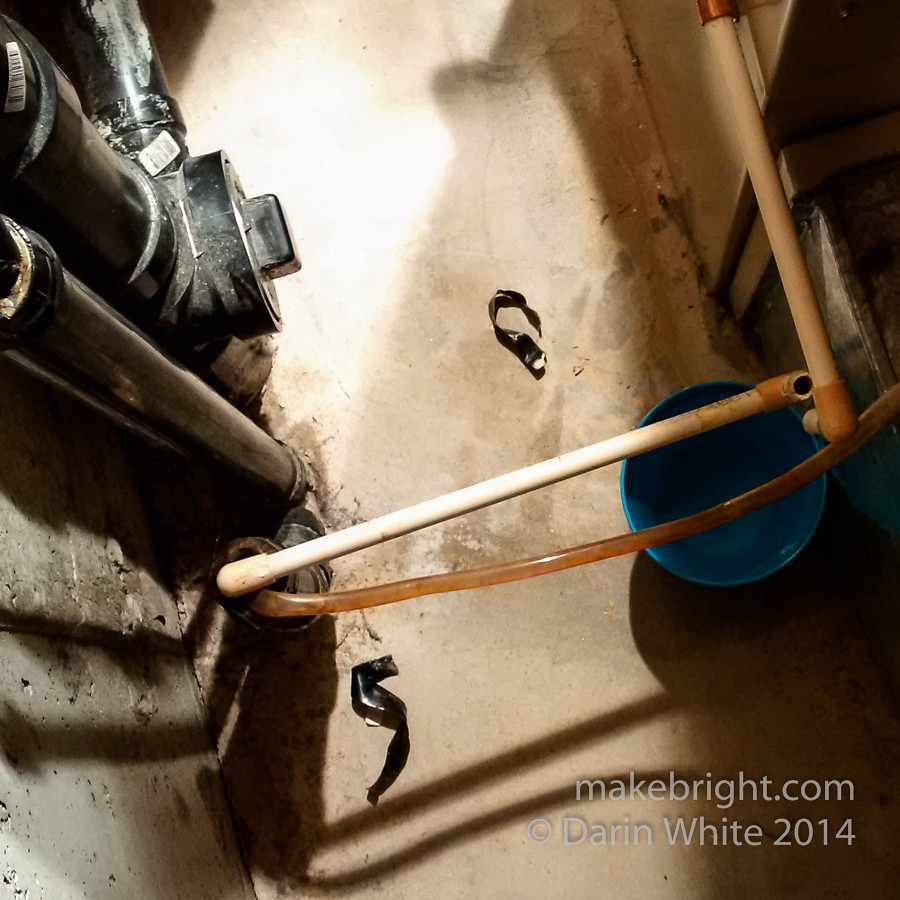
Was I sad that I had to fix this little white pipe? Hell no! I was delighted that the leak wasn’t coming from the main plumbing stack, represented here by the ginormous black ABS pipes at left. This tiny pipe drains the humidity captured by the furnace. I stuck the blue bowl under the broken pipe and extrapolating a bit from the accumulation while I went out for supplies, I’d say we’re draining 3 litres of water per day.
I took the broken end of the pipe with me to match up at the store. Even with the pipe in hand, I hit a hurdle: the guy in the plumbing department at Waterloo Home Depot had no idea what he was talking about. He tried to sell me PEX pipe for the repair, and yeah PEX is used for water lines in most new housing, but it is a total mismatch for this gig. I specifically asked him if he could help me determine if the broken pipe was PVC or CPVC plastic. He flexed the pipe a bit, declared it PVC and again told me to use PEX. There ought to be an appeals mechanism at hardware stores so you can get a second opinion when you suspect you’re getting bad advice. I took a best guess that it was CPVC, and since I only needed two feet of pipe I walked past the 10-foot lengths and out the door to Canadian Tire where I was completely on my own and absent any advisors, good or bad. Don’t let this dissuade you from diving in; just be wary of “expert” advice and do a little googling before shopping.
Now the reason we need to be so fussy about what plastic is used in the pipes and fittings is because you can’t mix and match the plastic chemistries and expect long-term positive outcomes. And the reason for that is that you don’t glue this pipe together in the traditional sense; you chemically weld it together. The solvent cement used melts the pipe and fitting a bit, permanently fusing them into one homogeneous thing. That magic only happens when you use all the same type of plastic. Since I only wanted to replace a small piece of the overall pipe, I had to match it up.
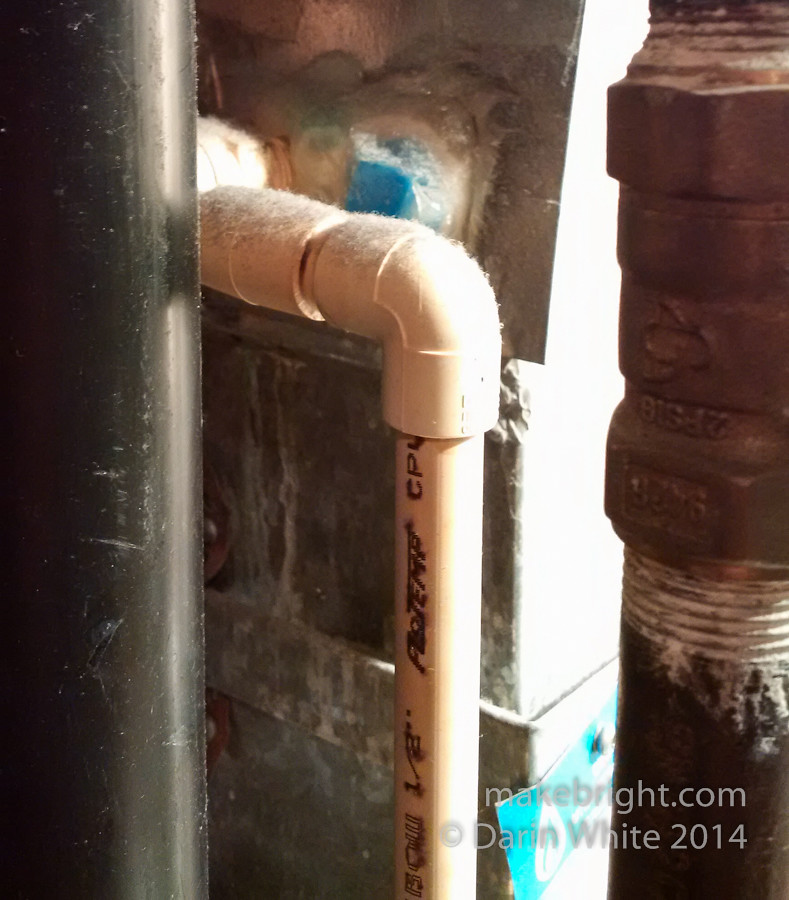
If I had traced this pipe a bit further up the furnace I would have discovered this bit here labeled “CPVC”, confirming my guess. The ‘C’ in CPVC is chlorine, which makes the pipe more tolerant of higher temperatures. In this application as a drain pipe that property doesn’t matter, but it’s still critical to match up the plastics. Online forums are full of sad souls who plumbed their whole basement with CPVC, but mistakenly used ABS cement. That’s a total do-over.
If you’re fabricating free-standing structural things out of pipe, you’ll find that black ABS pipe is cheap and widely available in sizes from 1.5” and up. Use ABS to build big things and again be sure to use ABS fittings and cement. For smaller rigs, you’ll find this half-inch CPVC that I’m using to be sufficiently strong. Regardless of whatever plastic you choose, the usual mechanical principles of robust design, bracing, and reinforcement apply.
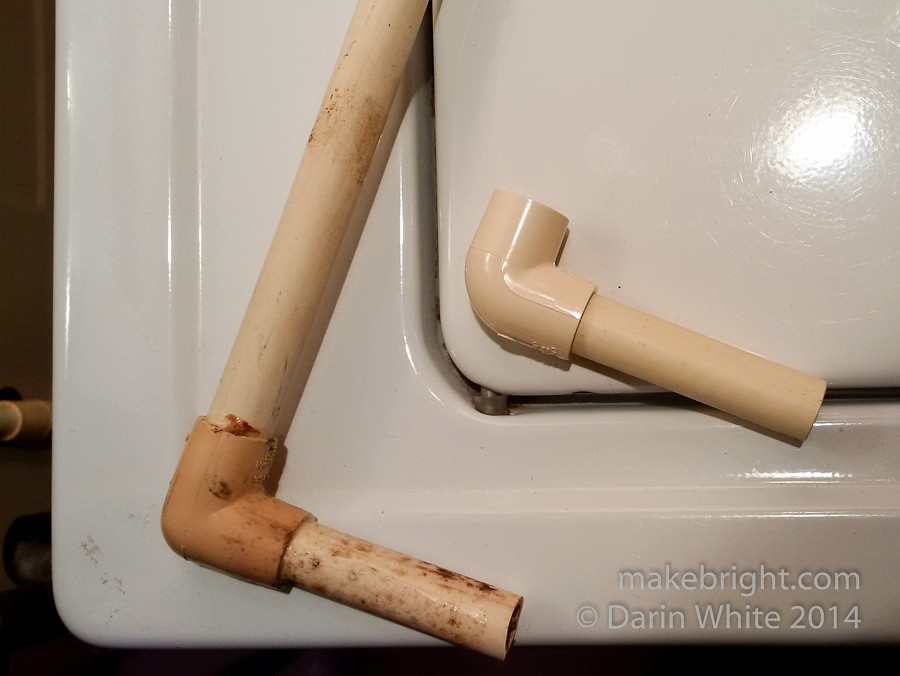
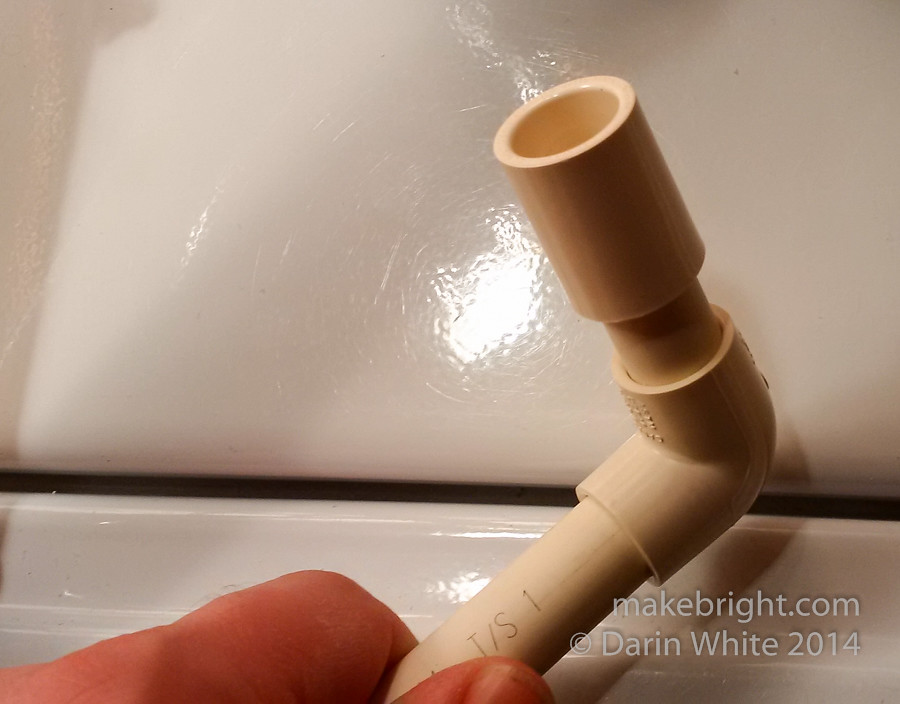
Here I’m starting to construct the replacement pipe. It’s important to dry-fit it, which is to say stick the pieces together without cementing them. That way if anything is too long/short/crooked/whatever, you can correct it. Once you commit to cement, it is forever.
As we all know, water flows downhill, so when you’re plumbing a drain it’s pretty important to maintain that downward path.
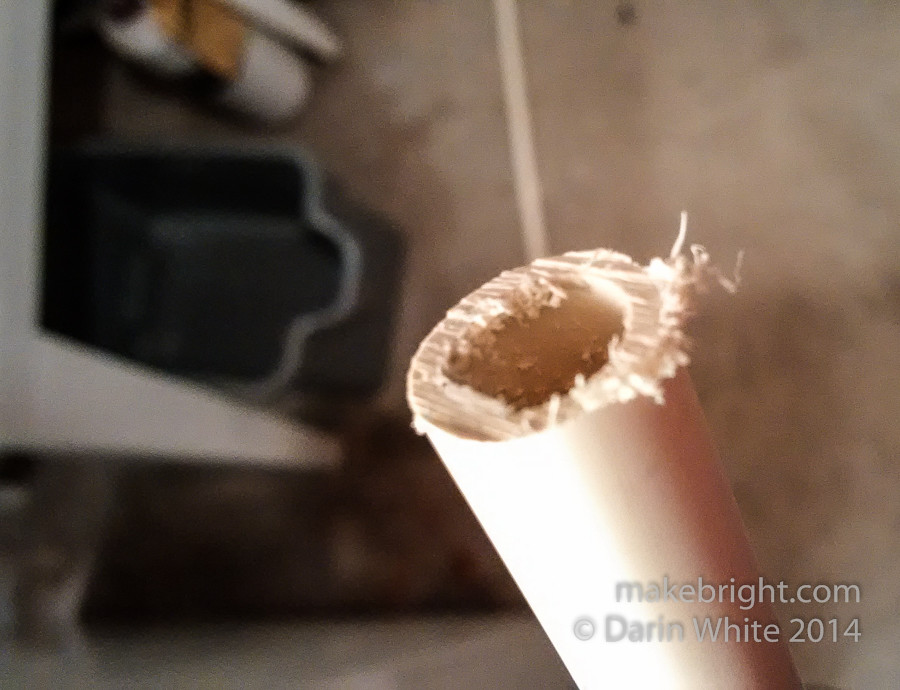
I’m not sure how real plumbers do this, but I cut this half-inch CPVC with a plain old hacksaw. For larger pipe of 1.5” and up, I use the reciprocating saw with a fine-toothed blade. They all cut like butter but leave this ragged finish.
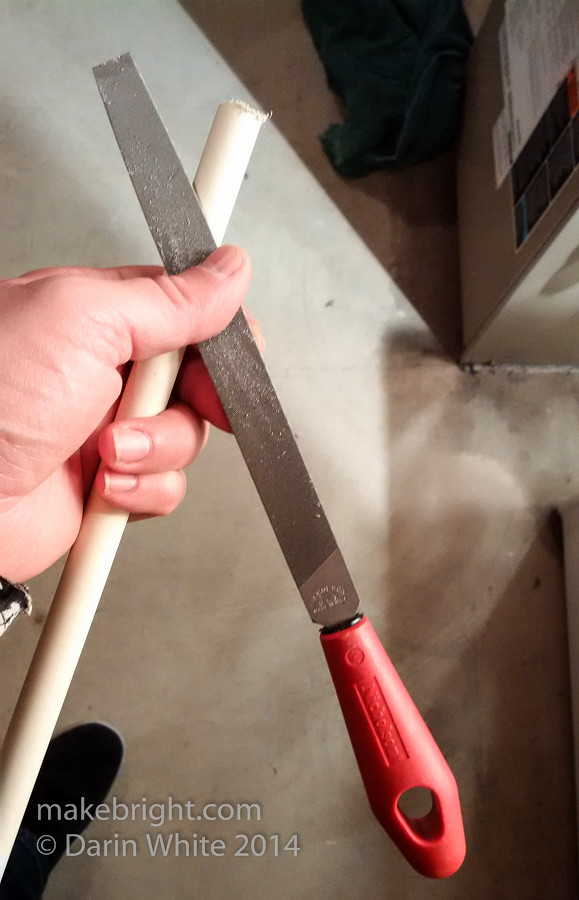
So I take a plain old file…
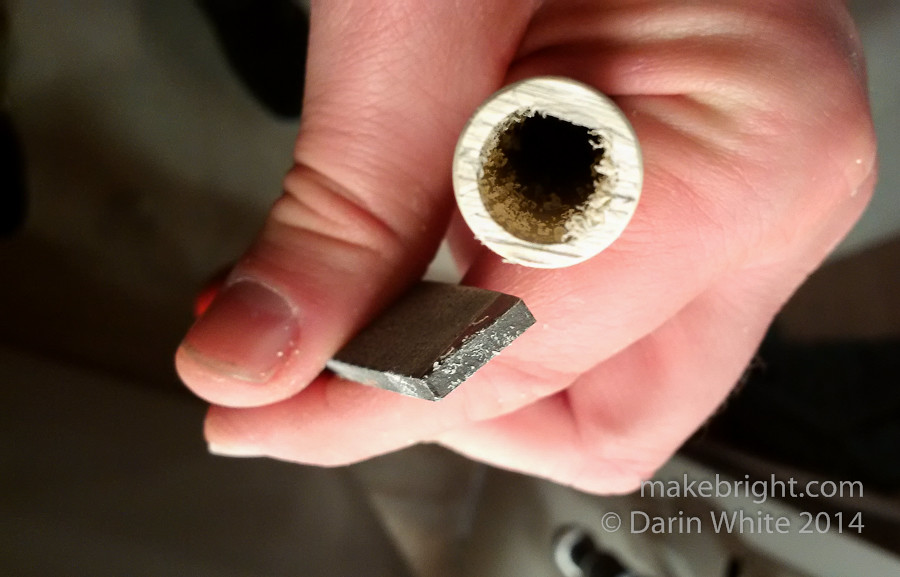
and zing it around the outside edge, and then take the corner and spin it around inside the pipe to scrape out the ragged bit.
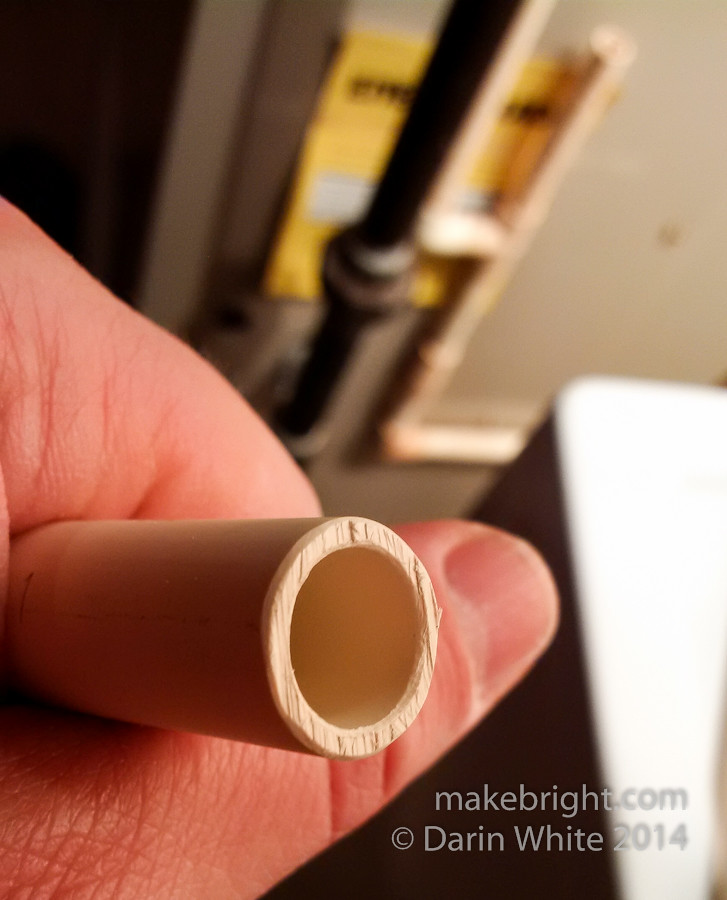
This looks a lot better and is friendlier to water flow.
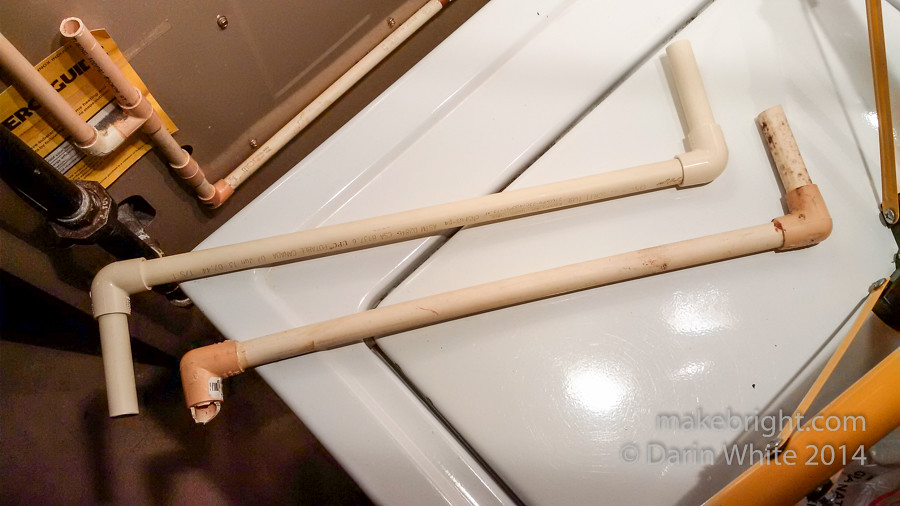
Here’s the dry-fit replacement pipe and the old busted counterpart. Over on the furnace, I cut off a bit of the broken pipe to square it up, then cleaned up the edge as described.
For all you makers out there, it’s good to just buy several lengths of pipe and a variety of fittings to have on hand for spontaneous making. It’s not expensive. Get yourself a lot of 90-degree elbows and tee-joints as well as a smattering of 45-degree joints (if you can find them) and straight-through coupling joints and end caps.
If you want to paint your pipe creations, be aware that garden-variety spray paint may not stick or may melt plastic pipe. Look for paint that is plastic-friendly or go with a primer designed for plastic and test the paint on a scrap before you go to town.
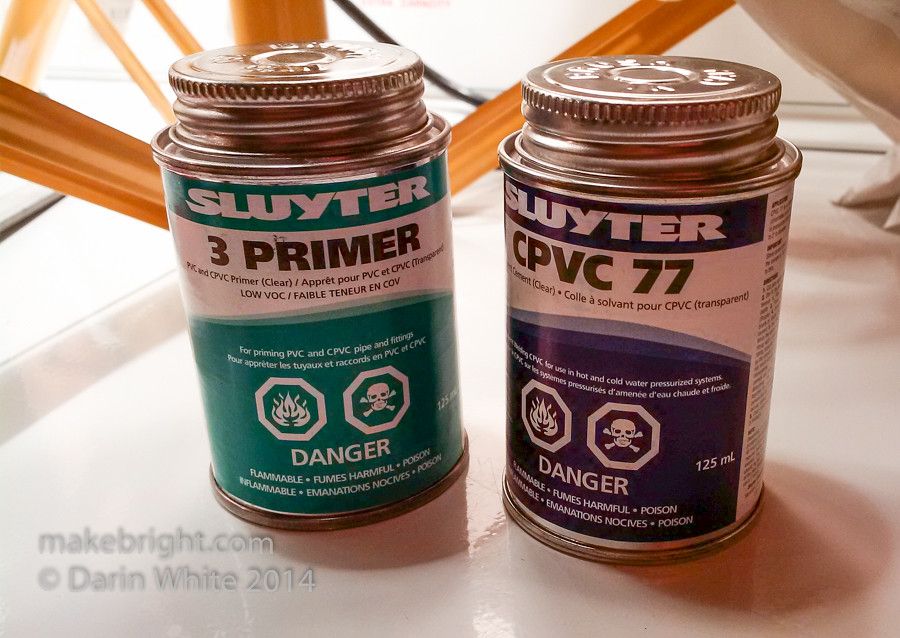
Here’s where the photos get a bit sparse. To solvent weld plastic pipes together you use some pretty gnarly chemicals which necessitate goggles, nitrile gloves, and serious ventilation. The label warnings are no bullshit: you need a lot of moving fresh air to work with this stuff. I turned off the furnace so as not to blow the fumes through the house and cranked up two 24” floor fans with the basement windows open.
The primer on the left cleans the pipe and prepares the surface for cement, which is the can on the right. Acceptable types of both compounds are, as I understand it, governed by local building codes and vary between jurisdictions. If you’re doing work that will requires government inspection then check the code before you do the work. It probably goes without saying, but free-standing rigs you build from pipe that are not attached to your home require no inspection.
Here’s a general maker principle to consider: you need not fear the tools and materials. You do need to get informed on their safe use and then follow that guidance. Recognize that every current expert in every domain at some point in their life had no idea what they were doing. So do your research, ask questions, gear up, and get started.
When cementing together your projects it is good practice to plan out the order of operations before opening the cement. What needs to get joined first, second, third, and so on. It totally sucks to discover late that you should have assembled your rig in a different order and now assembly is impossible. Sucks.
The key to good joints is to be very deliberate and to work expeditiously. If you are tentative, you will get sub-optimal results. Both the can of primer and cement have swab brushes attached to the inside of the lids. You swab the primer around the outside of the pipe and the inside of the fitting and then do the same with the cement while the primer is still wet on the plastic. Go easy on the amount of cement: you want total coverage, but you don’t want to goop up the inside of the pipe. You now have about 3 seconds to complete the joint. Pipe goes into the fitting with a quarter-twist until it bottoms out. Check the instructions to determine curing time for the cement. It depends on temperature. For longer free-standing or load-bearing pieces of pipe in your rig, you may need to hold or brace them for a bit during curing.

And that’s it: new pipe installed, water problem solved. Hopefully this post has got you thinking of a few ways you could use plastic pipe in your makerly pursuits.
Happy making,
DW