[Imagine a giant disclaimer here that says I speak for RIM about BlackBerry officially only on matters of product security. Everything else, like this post, is just me as an independent maker, messing around on my own time, in absolutely no official/approved way.]
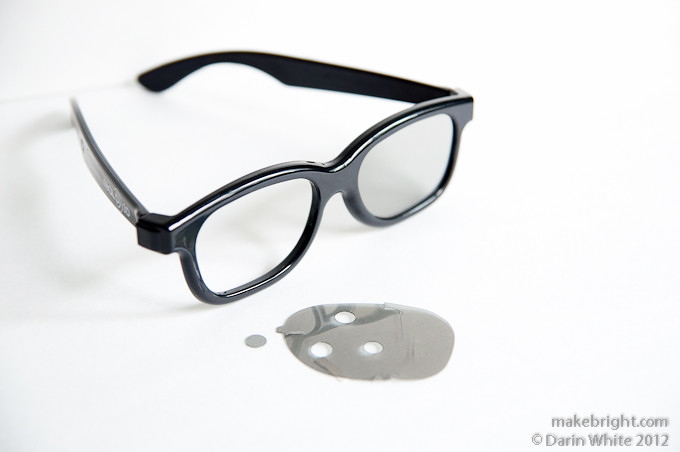
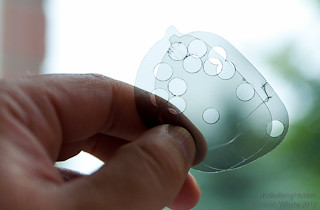
A few weeks ago, I mentioned that I was experimenting with cheap polarized filters for my BlackBerry 9790 macro photography exploration. The photo above explains about 95% of the how. The results… well, this ain’t science and subjectively it’s kinda hard to tell what, if any, positive difference this makes to my shots in full sun. Weigh in here if you’ve got an opinion/observation/question.
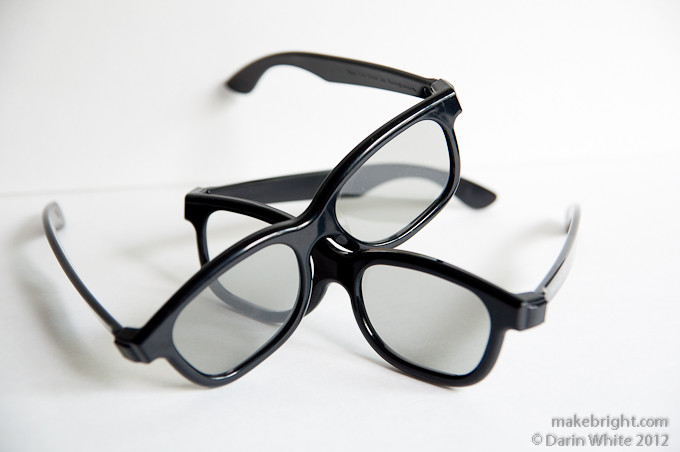
Of course, these are glasses that you pay an extra $3 for to see a 3D movie. You paid for ‘em, so feel free to bring ‘em home and experiment.
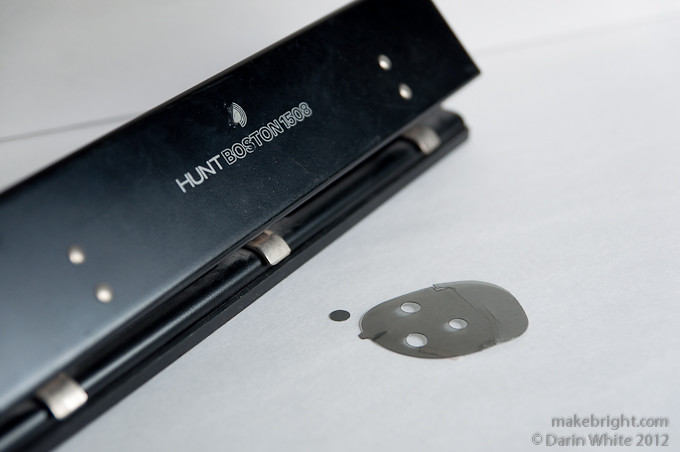
Slightly-ragged filter disks were achieved with this 3-hole paper punch. I tried a single hole punch, but it was only 5mm diameter, which is the same as the 9790 camera lens window. The 3-hole punched out 7mm disks for better coverage.
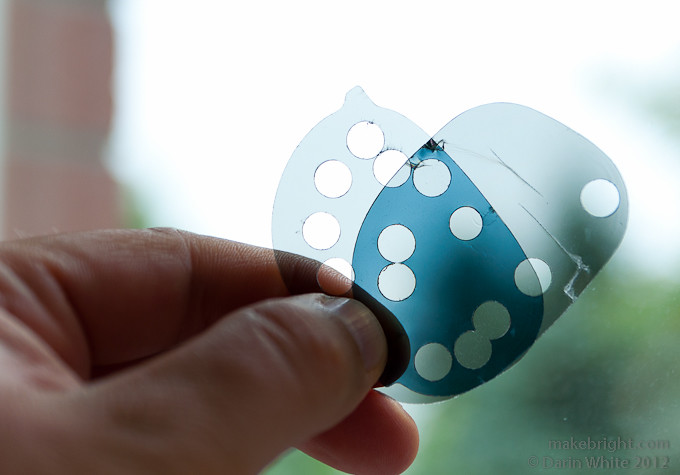
I got a physics refresher on these type of lenses a couple years back on a Doors Open Waterloo Region tour of my very favourite Institute for Quantum Computing (yes, that’s me in the kwartzlab t-shirt). Especially mind-blowing was…
how light transmission…
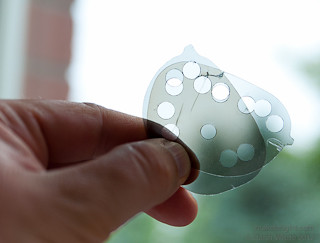
changes as you…
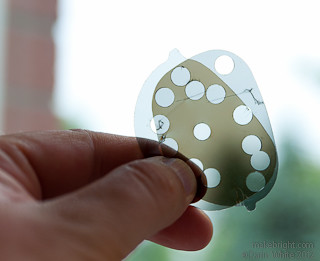
rotate the lenses…
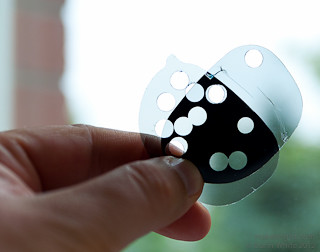
relative to one another.
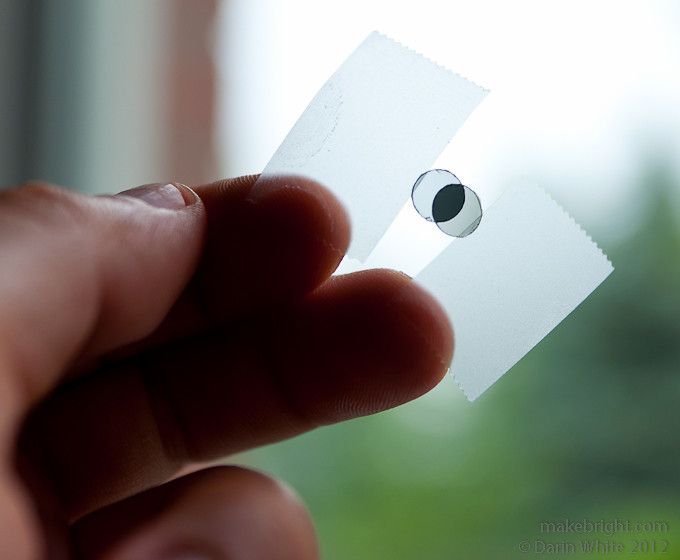
Below, I’ll show how I mounted a single filter disk, but you can do two of them together much the same way. I found it easiest to use tape like this on the edge of each disk and then rotate the disks until I got the opacity I was looking for before taping the whole mess down to the BlackBerry. It turns out that which side of a disk is facing which matters here and gives different results. Here I punched a disk out of each lens in the original pair of glasses. I believe one lens blocks light that is circularly polarized clockwise and the other blocks counter-clockwise. You’ll find the science here and the application to photography here.
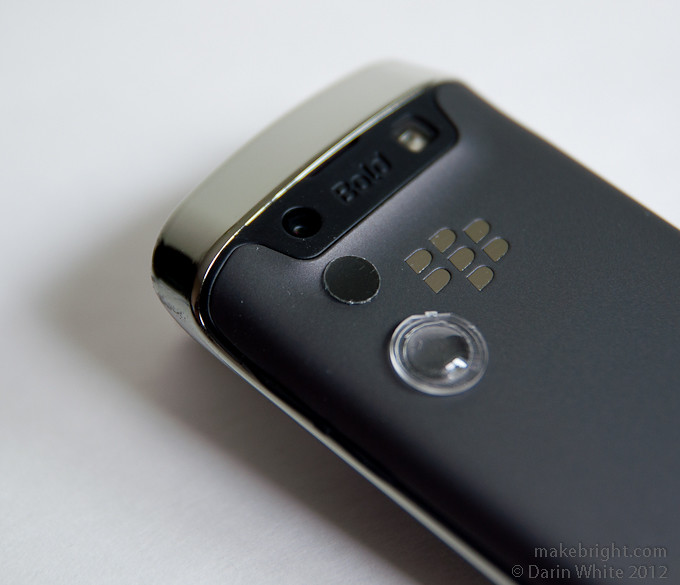
So, camera lens opening + filter + cheap macro lens.
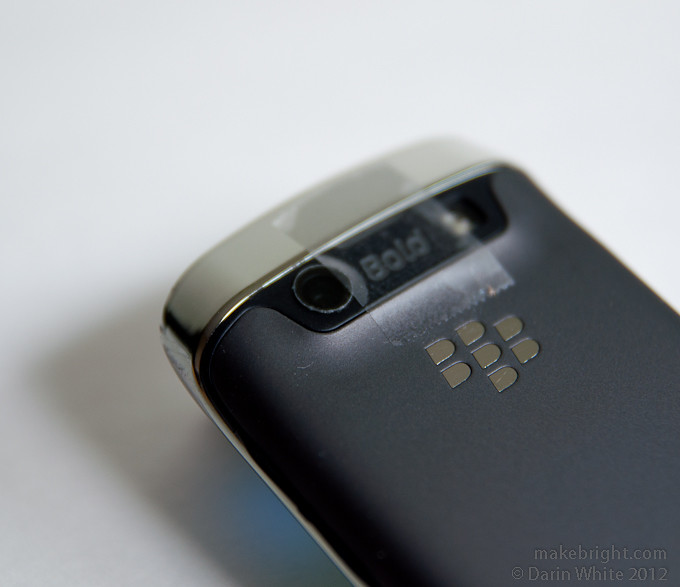
Tape filter.
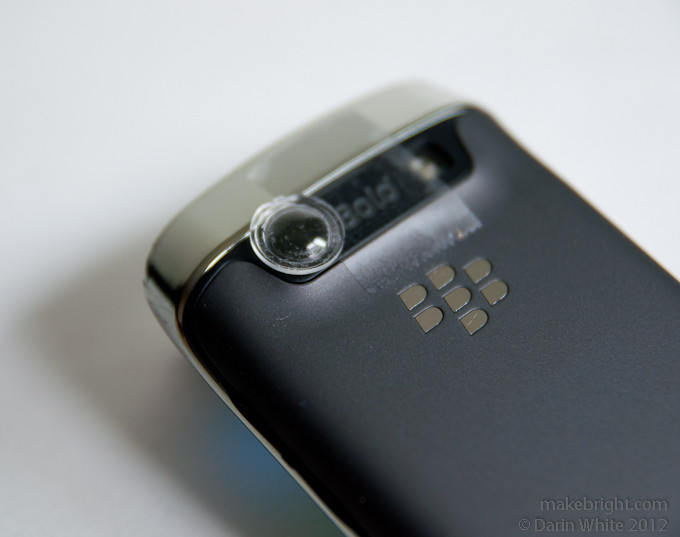
Tape lens on top of filter.
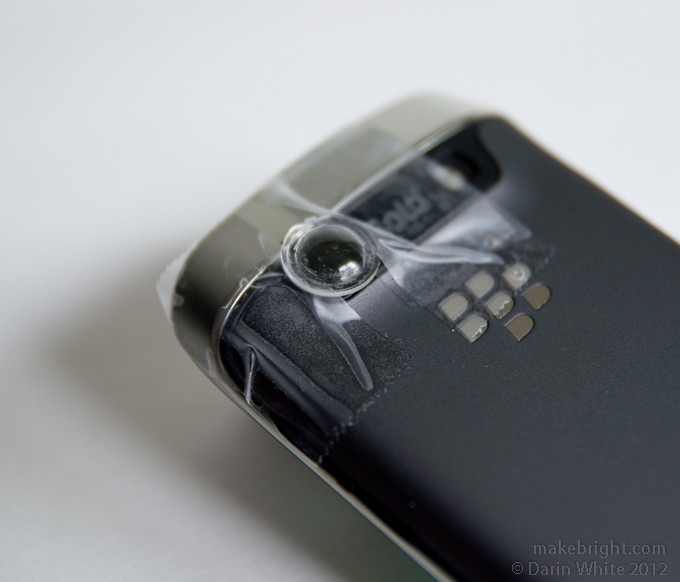
More tape. Ensure the filter and lens are as flat as possible against the camera window.
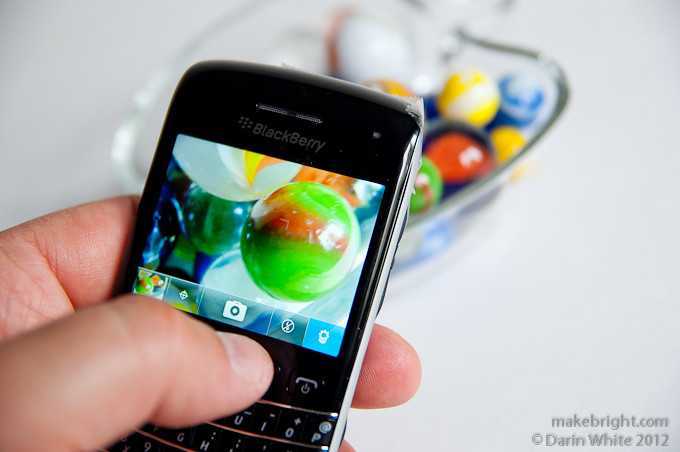
And then shooting again. I noticed with the filter that indoor shots ran me into the “low light” camera mode of the BlackBerry more often, as expected. We’re filtering out light, and the original point of this was to try to take better photos in full, blinding, mid-day sunlight. Now some results, and I’ll say again: this ain’t (really) science…

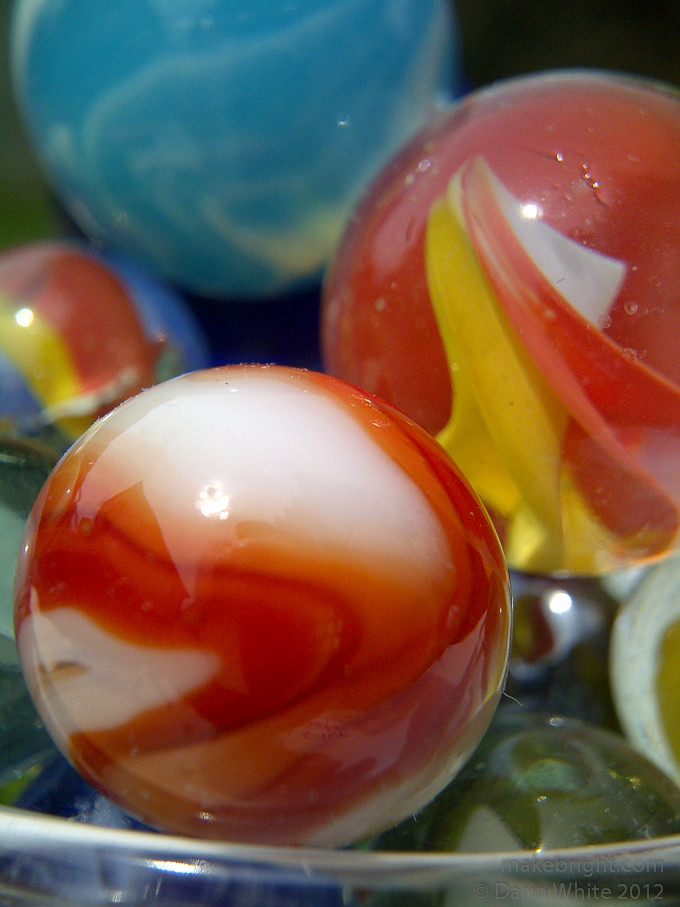
Above, 2 filters stacked and rotated to allow most visible light.
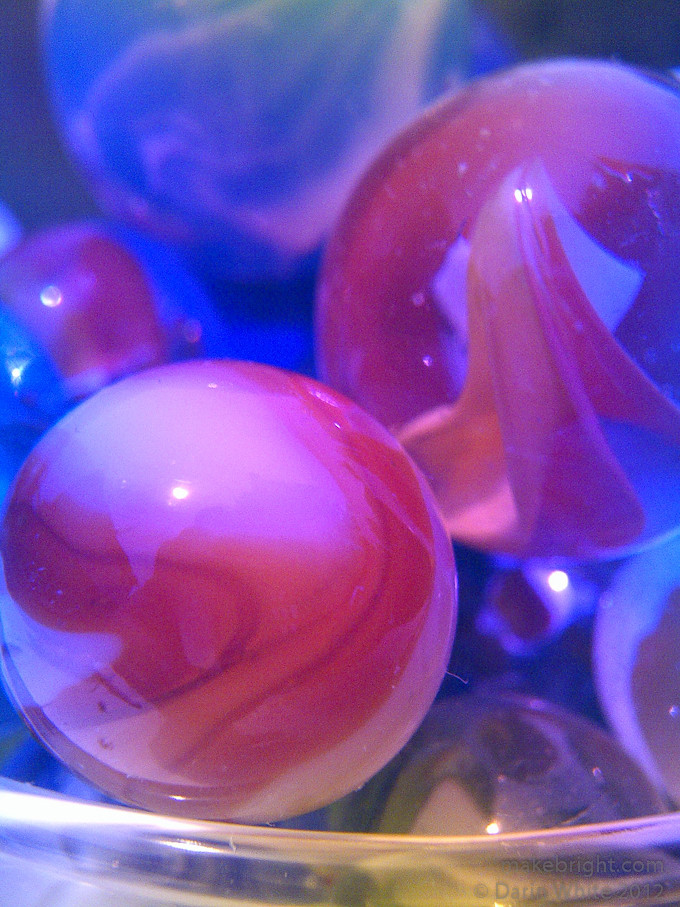
Above, 2 filters stacked and rotated to illustrate the freaky violet shift of light passing through.
Above, 2 filters stacked, swapped the order of which was in front.
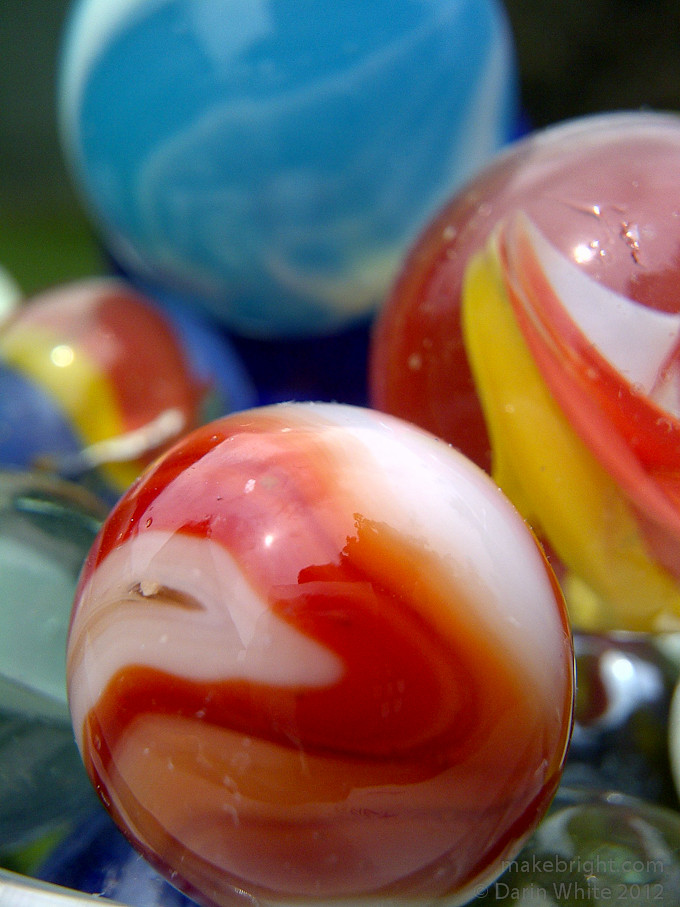
Above, 1 filter.
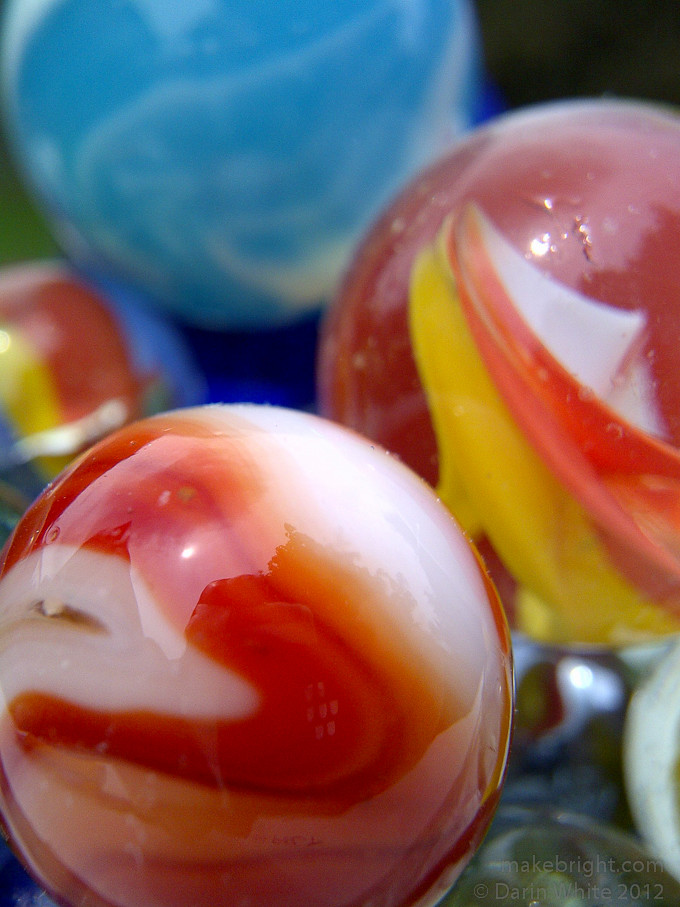
Above, no filters.
 2 filters |
 2 filters, rotated to “freaky” |
 2 filters, swap order |
 1 filter |
 No filters |
Here’s a summary of the larger photos above for a better side-by-each comparison. |
There was some medium cloud cover today, so it wasn’t ideal conditions for a representative test, but, hey, it’s Sunday and I had time to do it. I encourage you to try this in the blistering mid-day sun under a cloudless sky. If I stare hard enough at these photos, it starts to look like the no-filter photo is the best, and that’s a totally valid outcome of an experiment: #1 I made a guess about how the filters would affect the photos in bright sun, #2 I figured the consequence of that guess in this instance (deeper colours), and then #3 I compared my reckonings with experimental results. Better to watch Feynman explain the key to science.
So I’ve got some more thinking to do on this one. Ideas welcome, as always.
Happy making,
DW